Disassemble Viper rear brake calliper
Do NOT mix left and right hand calliper parts/component – keep the stored separately.
You will need the following non-standard tools for this job:
• 4.5mm allen key
• Vacuum brake bleed equipment for reinstallation
1 Unscrew (out/anti-clockwise) the piston:– Use either a pair of long nosed pliers or if you have it the proper drive tool. It should sit about 32mm proud before it can be lifted/pried out, see next step. It’s a standard right-hand thread. You are fully unscrewed when the piston stops rising.
Dis 1.jpg
2 Pry the piston out of the body:- Using a couple of large screwdrivers the piston will snap free - cover assembly with a rag so it doesn’t become a missile. Remove dust boot. You must make sure the piston is FULLY unscrewed before this step.
Dis 2.jpg
3 Remove screw:– Use a 4mm allen key – DO NOT use an imperial equivalent. The screw is Loctited in and will probably break. If it doesn’t break “I WANT TO KNOW WHY THE HELL MINE DID!”
dis 3.jpg
When you give the broken bits to a machinist to repair/reproduce, gently remove and retain the ‘o’ ring. The screw thread is M5 and needs to be 9mm long.
4 Remove piston components:- With the screw removed, unscrew the threaded disc and remove the bearing race, washers and snap ring.
Dis 4.jpg
5 Remove worm drive:– At the base of the worm drive unclip the snap ring using a large/long flat-blade screwdriver - the snap ring has 4 tabs to pry against.
dis 5.jpg
Gently pry against these tabs (plural) - take your time gently and gradually prying on at least 2 tabs and the ring with pop out surprising easily – you think you’re getting nowhere but it does work, believe me - this is what it looks like. Do not pry against only one tab or the ring will twist when it exits and get damage.
Results 1 to 11 of 11
-
03-13-2015 #1Enthusiast


- Join Date
- Oct 2013
- Posts
- 91
Gen II - rear brake calliper overhaul - non-ABS
Last edited by MADMAX; 03-14-2015 at 04:57 PM.
-
03-13-2015 #2Enthusiast


- Join Date
- Oct 2013
- Posts
- 91
dis 6.jpg
6 Remove the worm drive:- With the snap ring removed the worm drive will come out in your hand.
dis 7.jpg
7 Remove hex grub screw:– Using 4.5mm allen key – these are renowned to seize so soak in WD40 for 24hrs.
dis 8.jpg
9 Remove the handbrake shaft:– Push the shaft into the body and remove shaft, plate, bearing race and washer – the washer will be stuck (under vacuum) and will need gentle prying to remove. Remove the shaft outer dust seal.
dis 9.jpg
10 Remove handbrake drive ‘o’ ring:– Carefully pry out the ‘o’ ring - inspect for damage.
dis 10.jpgLast edited by MADMAX; 03-13-2015 at 07:11 PM.
-
03-13-2015 #3Enthusiast


- Join Date
- Oct 2013
- Posts
- 91
10 Remove handbrake drive ‘o’ ring:– Carefully pry out the ‘o’ ring - inspect for damage.
dis 11.jpg
THE FINISHED STRIP DOWN.
NOTE: The ‘O’ rings and the widget in step 3) above are not shown in the photo below.
dis 12.jpg
-
03-13-2015 #4Enthusiast


- Join Date
- Oct 2013
- Posts
- 91
Reassemble Viper rear brake calliper
Not so many photos this time but more words to compensate.
As before, Do NOT mix left and right hand calliper parts/component – keep them separate.
Besides standard, tools you will also need the following tools/materials for this job:
• 4.5mm Allen key
• Loctite
• 9” G clamp
• Vacuum brake bleed equipment for reinstallation
Ensure all parts/components are clean.
To aid brake bleeding, wet internal components with clean brake fluid prior to reassembly – ensure all parts ‘wet’ properly.
Ensure work area is clean and tidy and sources of FME are removed (foreign material).
Reassembly is split into 3 parts:-
Piston reassembly
Calliper reassembly
Fitting piston into calliper
1. Piston reassembly
a. Rebuild the piston internals so it looks like this:-
ass 1.jpg
b. Start by pressing the spring into the recess/grove on the worm drive – you may not have separated these two components.
c. Then fit the wavey washer, flat washer and ball bearing race.
d. Screw on the cone screw, the right way round, see photo!!!
e. Refit the ‘O’ ringed guide screw using an Allen key and a little general purpose Loctite.
f. Slide the assembled unit into the piston – priming with a little brake fluid to help bleeding operations later.
g. With only the spring sticking out of the piston, place the snap ring, see below, around the worm gear and snap it into the recess inside the piston - all loose components on the worm drive need to be inside the piston and below the snap ring.
ass 2.jpg
h. Take the snap ring with tabs, see photo below. Inspect to ensure it is flat. Fit it to the bottom of the piston.
ass 3.jpg
i. Gently squeeze it together so the tabs locate on the inside of the bottom lip of the piston - it will hold itself in place.
j. Screw the worm drive into the piston as far as it will go – note, it’s not supposed to screw in tight. It should look something like this.
ass 4.jpg
k. Fit the new dust boot over the piston leaving it hang over the bottom – more on dust boot fitting in 3.b below.
2. Calliper reassembly
a. Fit the hand-brake drive components into the calliper body.
ass 5.jpg
b. Fit the ‘O’ ring and dust seal – apply small amount of high temperature lubricant to the ‘O’ ring.
c. Refit the flat washer, needle bearing and ball bearing drive unit – adding a small drop of brake fluid will help keep the components fitted together.Last edited by MADMAX; 03-13-2015 at 07:13 PM.
-
03-13-2015 #5Enthusiast


- Join Date
- Oct 2013
- Posts
- 91
3. Fitting piston into calliper:-
a. Place the piston assembly over the piston hole.
b. Fit the bottom lip of the boot into the receiving groove on the calliper making sure it is even and smooth all the way round.
c. Centre the piston and press it into the bore – use a G clamp. Problem areas are:- getting it past the dust boot lip - pressing it in SQUARE – the piston MUST GO IN SQUARE or the dust boot and/or internal seal will be damaged.
d. Aligning ball bearings with indents when you start approaching fully inserted – you may need to rotate the piston a little or rotating the handbrake shaft.
e. Listen for a characteristic ‘snap’ sound which confirms the snap ring is in place and the piston is fully inserted.
f. If the piston feels fully inserted but you have not heard the ‘snap’, try compressing the worm drive spring more by rotating the handbrake mechanism clockwise - if the SNAP does not occur, the hand brake will not work
g. When the snap ring has engaged, refit the hex grub screw (use a 4.5mm allen key):- This needs to be done by first aligning the indent in the worm drive - look into the grub screw hole then rotate the park brake shaft until the indent in the worm drive can be seen.
ass 6.jpg
h. Finally reinstall the grub screw cap bolt, park brake lever, return spring and bleed nipple. It should look something like this.
ass 7.jpg
i. Fit the park-brake drive shaft dust cover applying small amount of high temperature grease then refit the park-brake lever and hex head retaining bolt.
j. This part is important – get it wrong any you’ll destroy internal parts of the calliper:-
Tighten the retaining bolt ensuring the park-brake drive shaft does not rotate (the bolt must ONLY be tightened against the lever and must not be tighten against resistance of the brake internals). I suggest putting the calliper in a vice then tighten the bolt while holding the level with a pair of mole-grips.
k. Finally, reinstall the return spring.
Check calliper functionality:-
Rotate the park brake level anti-clockwise then back slightly and observe the piston press-out and retract slightly. Repeatedly rotate the park brake level and observe the piston slowly press the piston out.
Initially bleed the brakes at the workbench to free up as much trapped air as possible. Finish the job by refitting to the car and bleeding with new brake fluid. This may need to be repeated – keep the foot and hand brake off.
-
09-05-2015 #6Enthusiast


- Join Date
- Nov 2013
- Location
- Germany
- Posts
- 992
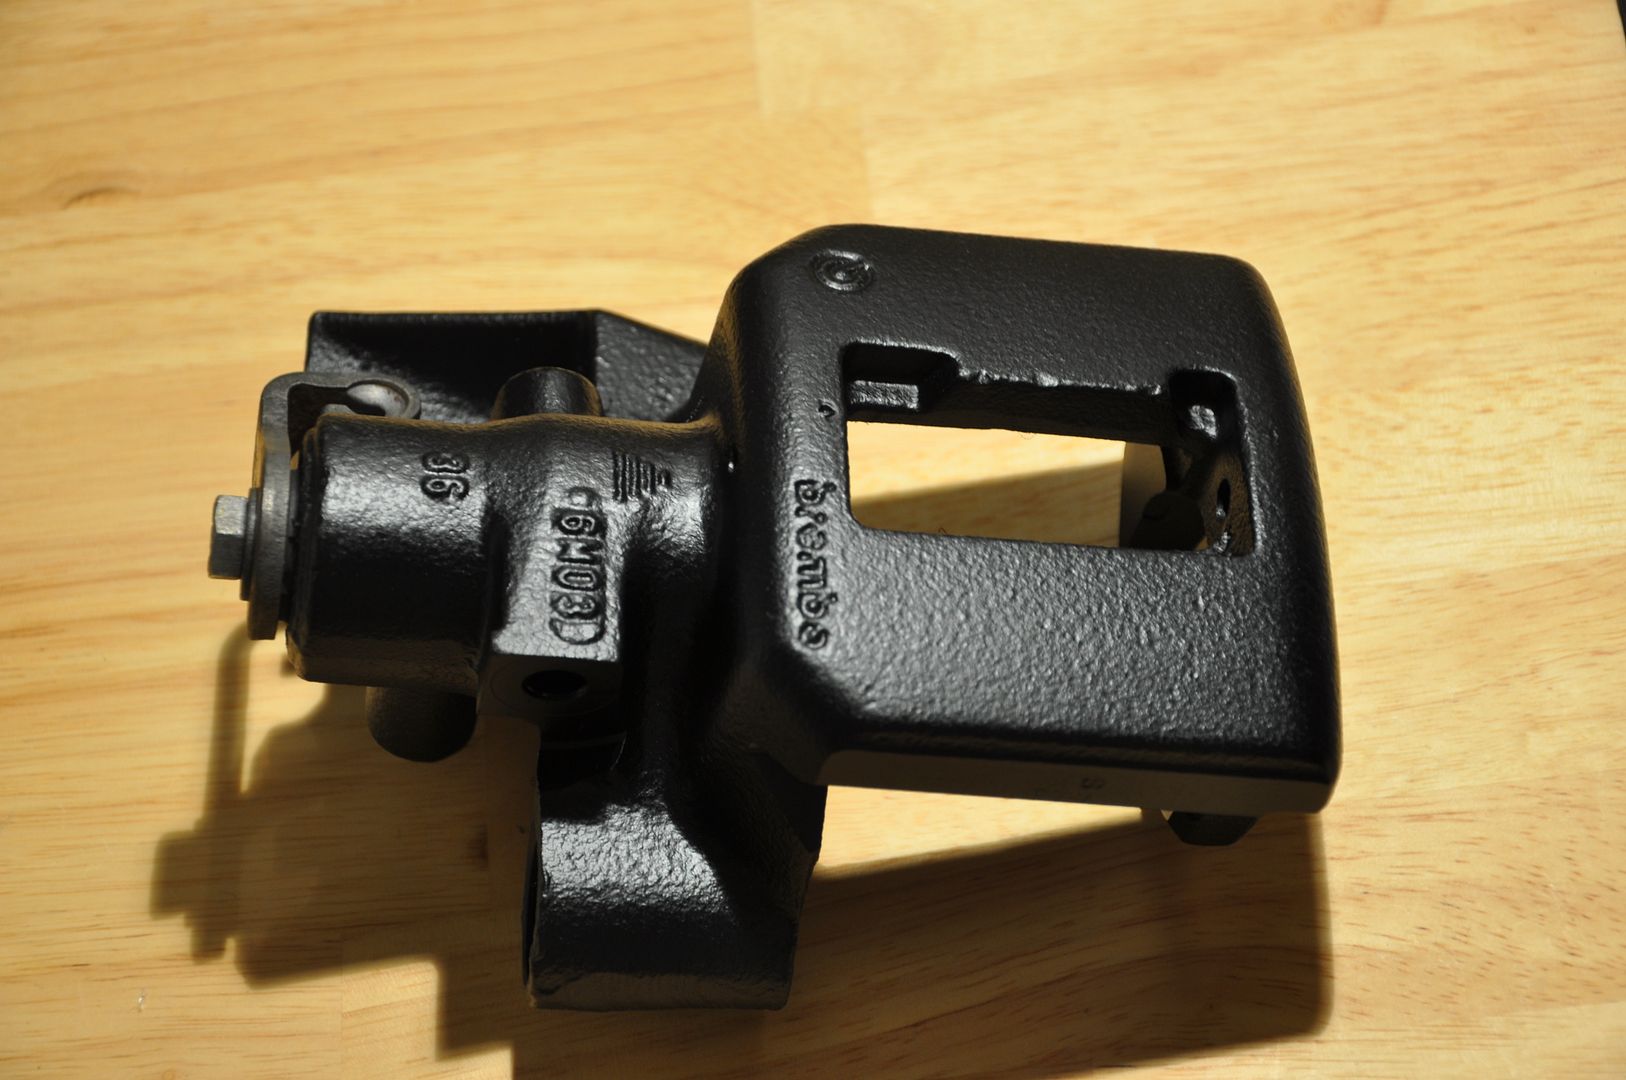
I have just started to overhaul a set of spare calipers, that I bought recently. Piston dust boots and some of the slider boots are shot so I have started to disassemble the first caliper, following Tom's and Madmax' instructions. I finally decided not to remove the parking brake lever nor the 4,5mm allen stop screw. I also painted the caliper black (rattle can).
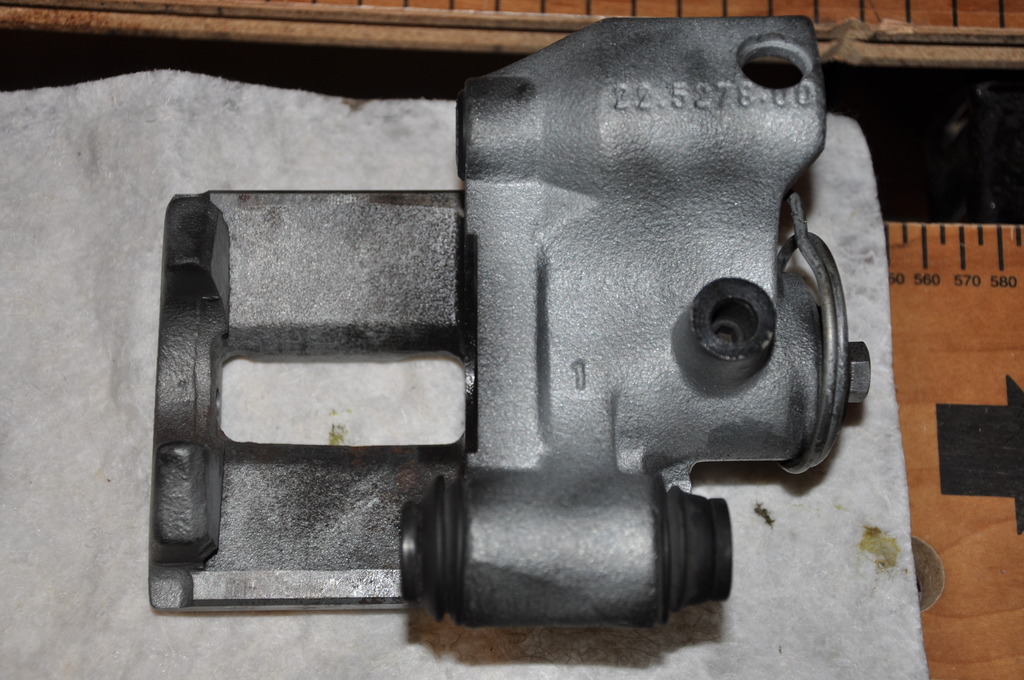
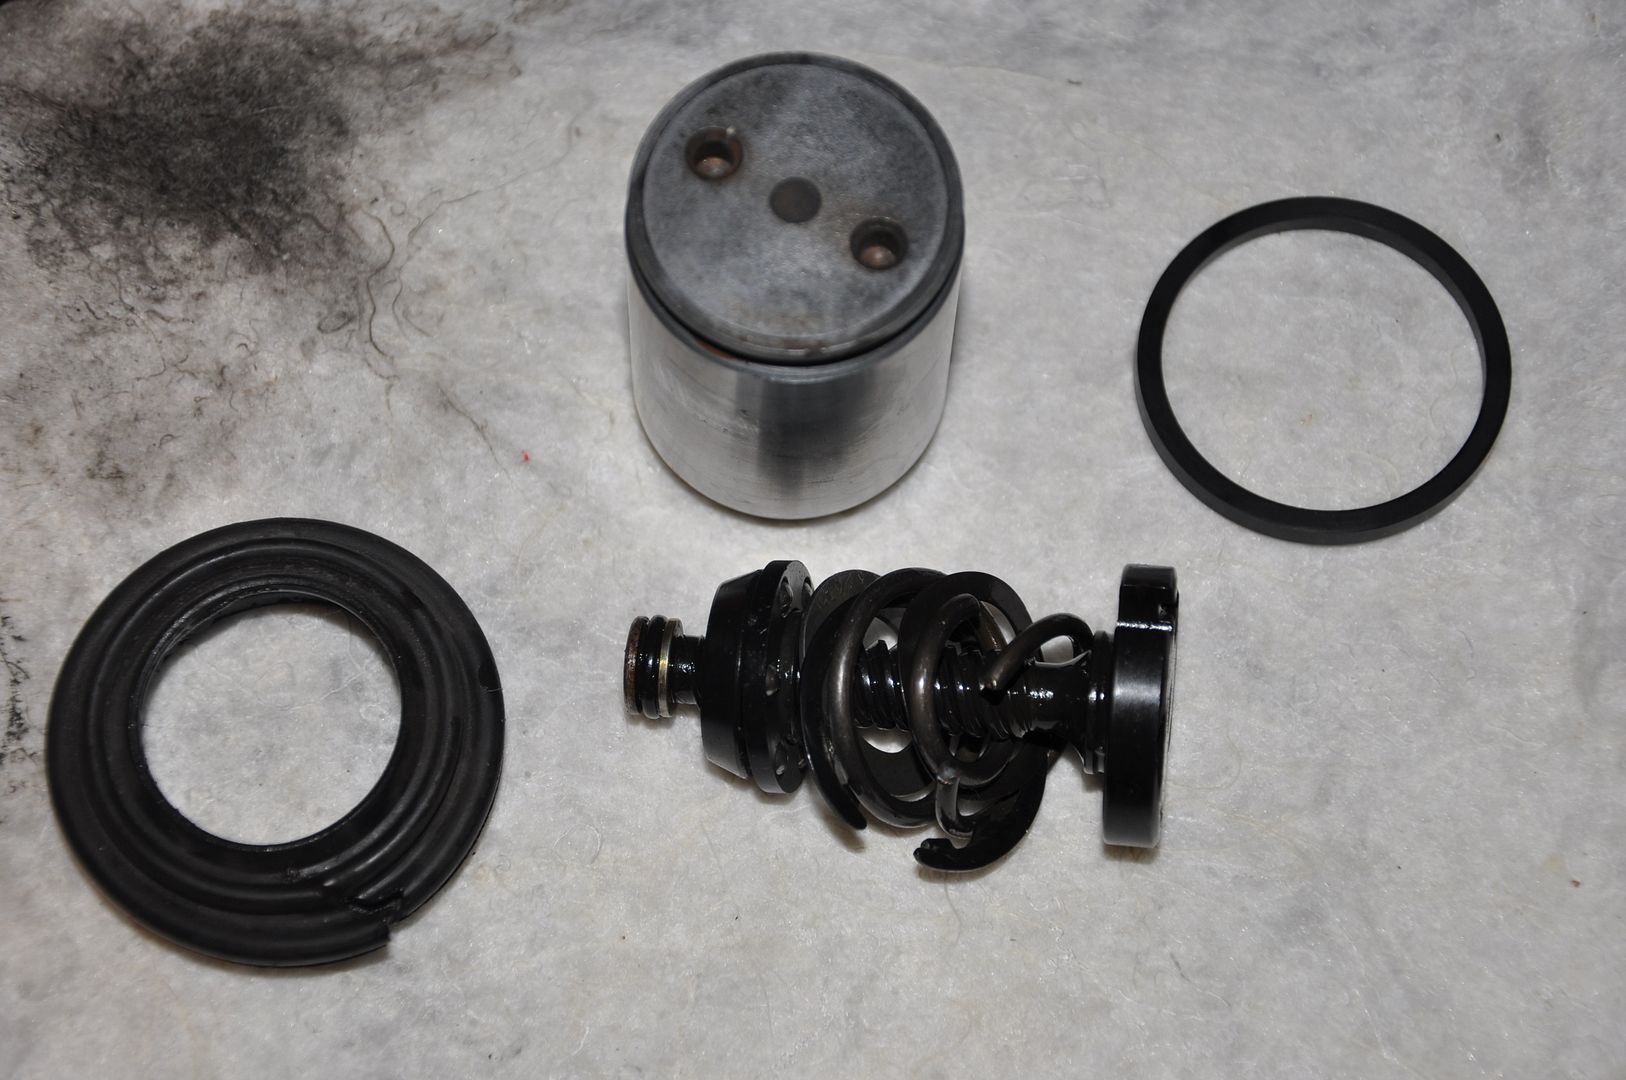
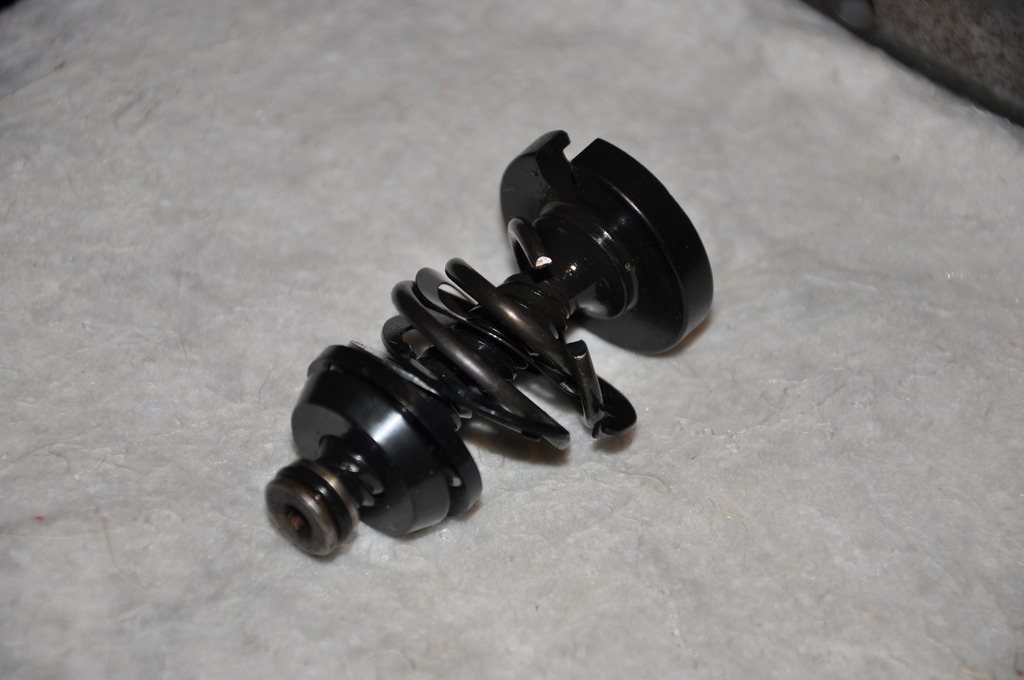
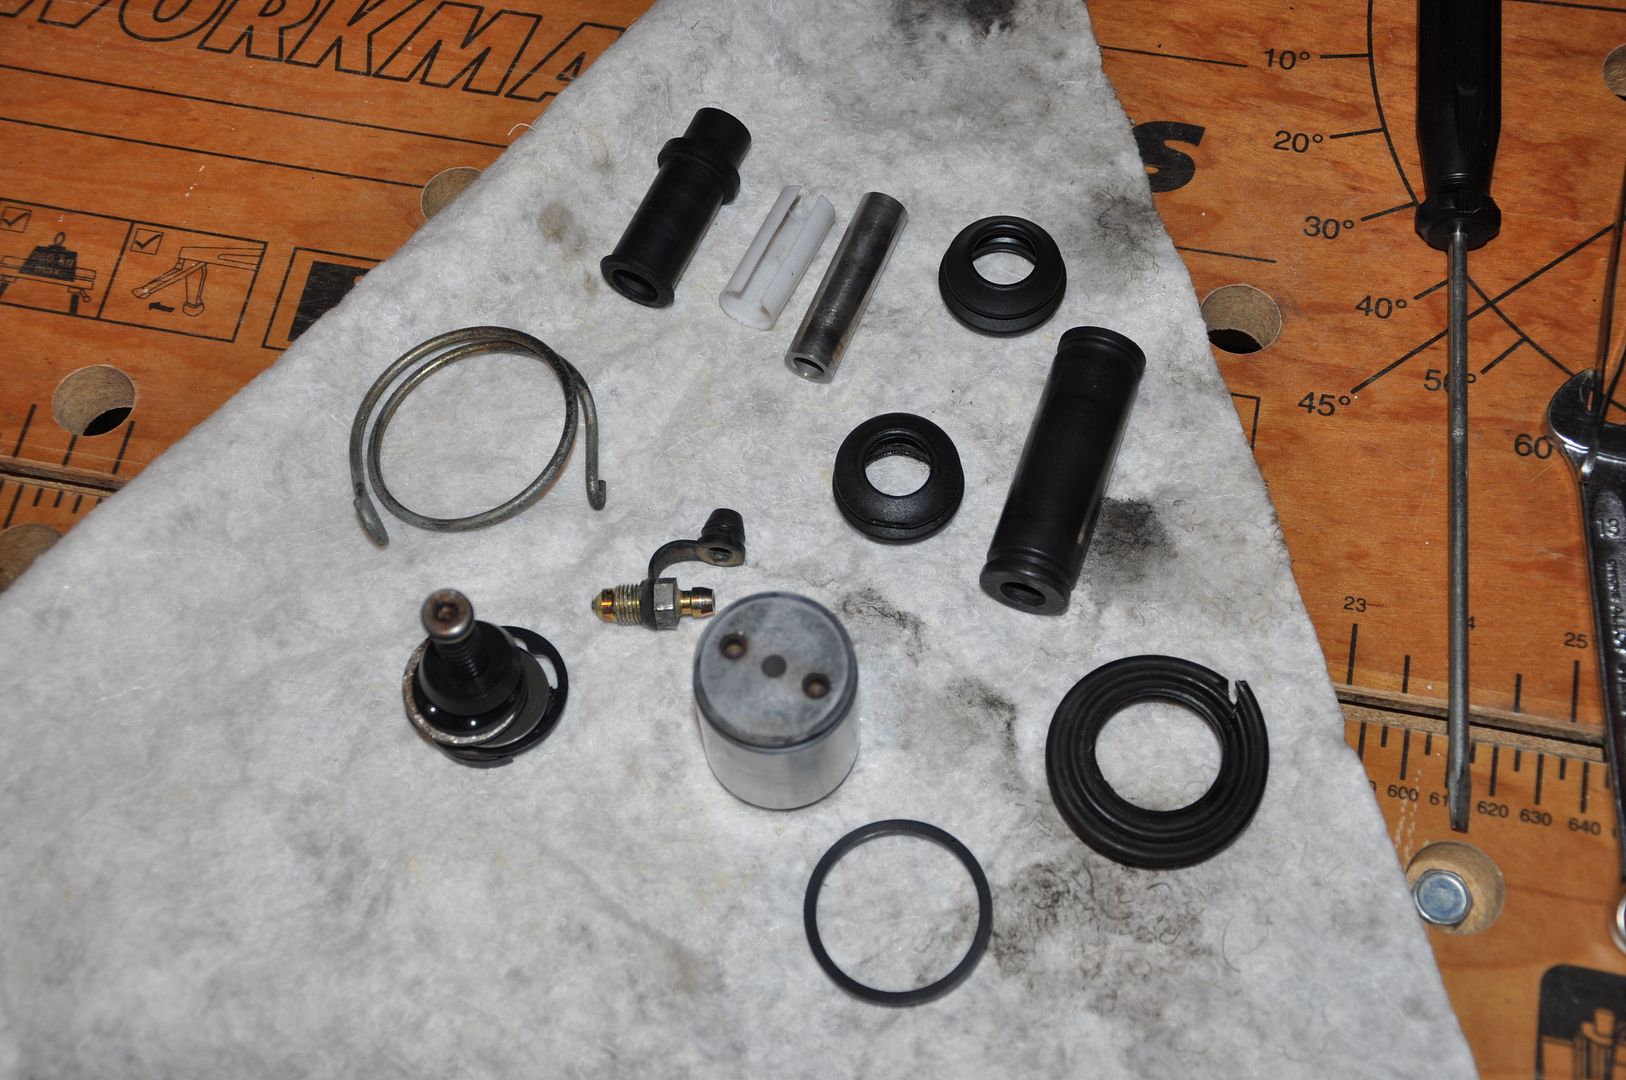
-
09-05-2015 #7Enthusiast


- Join Date
- Oct 2013
- Location
- South of London, Surrey
- Posts
- 7,577
Fun Job
 Be careful with those small dust boots on the slider bolts when mounting back on the car They can pinch and split really easy......Don't ask how I know
-
09-06-2015 #8Enthusiast


- Join Date
- Nov 2013
- Location
- Germany
- Posts
- 992
I see, thanks for the heads up!
-
09-15-2015 #9Enthusiast


- Join Date
- Nov 2013
- Location
- Germany
- Posts
- 992
I could finally complete the first caliper. I had problems to source the replacement boots but with a big help from Tom F&L I could complete the job. Tom, thanks a lot again, that was very much appreciated!!
Guess now, what's the overhauled one... ;-)
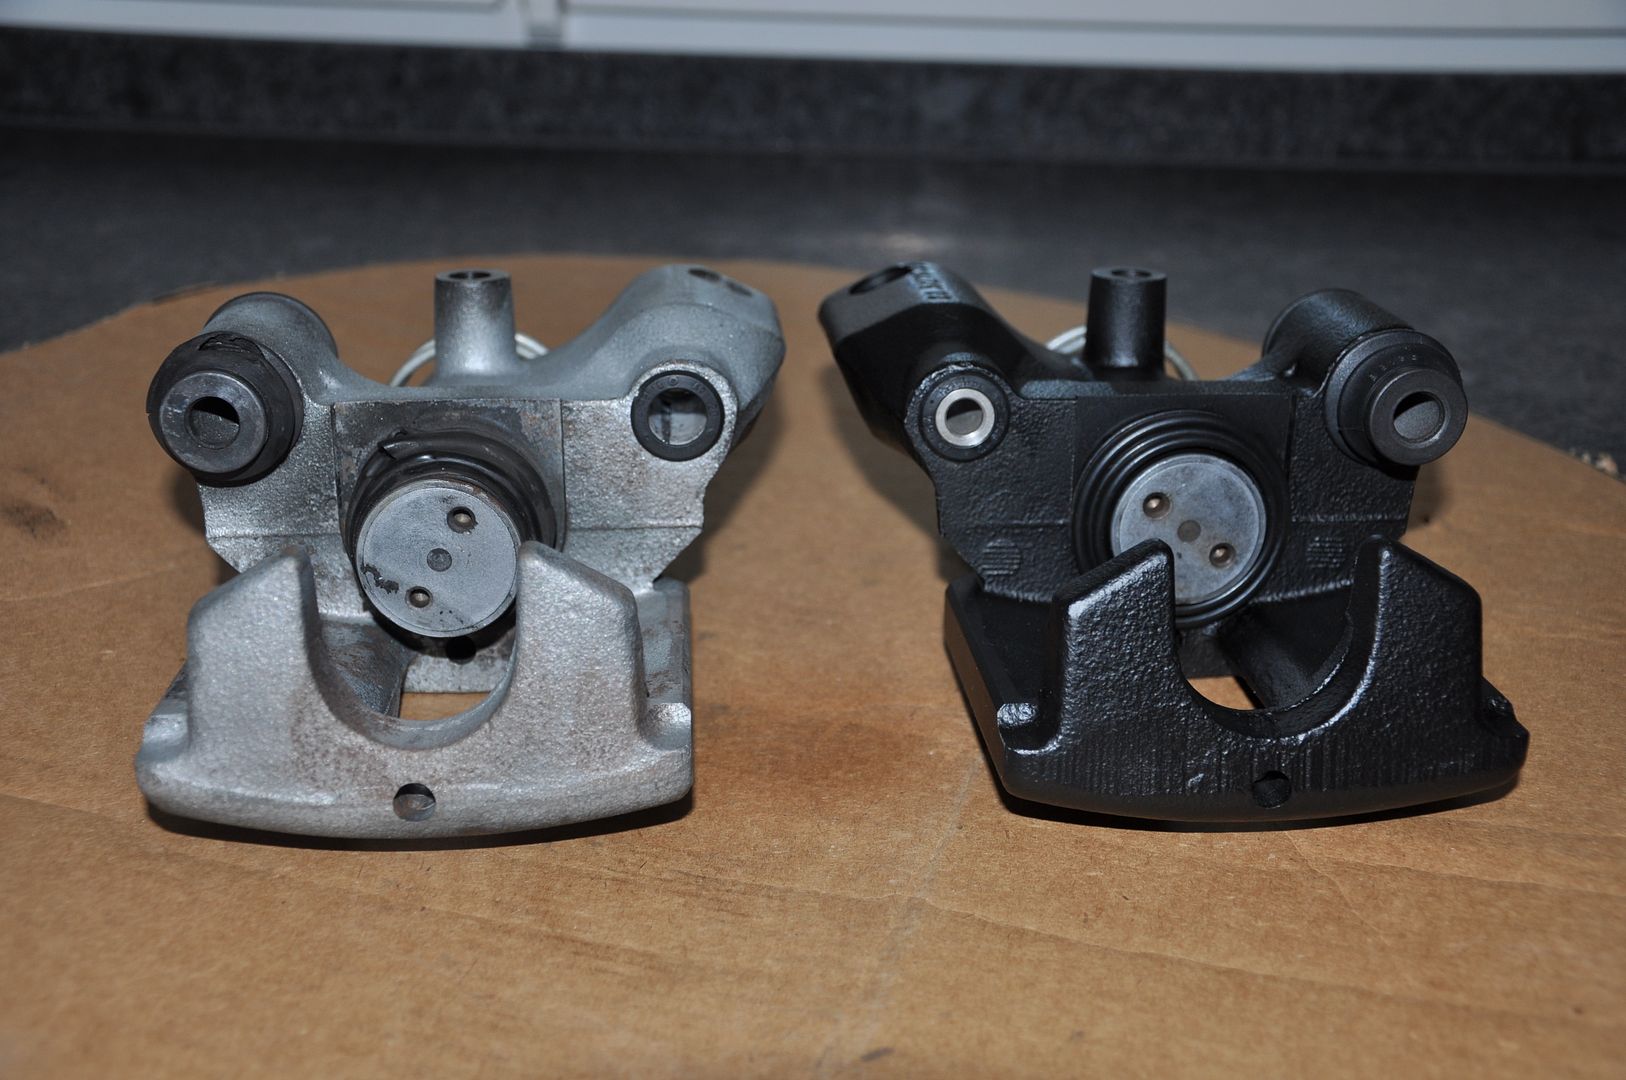
The trickiest part for me was to re-install the piston into the caliper bore so that the snap ring would engage. Just pushing it in with a clamp did not work. I finally used my piston retractor tool turning the piston clockwise while pushing it further in at the same time. This technique worked very well and not a lot of pressure was needed.
I now need to take care of the other one....
-
09-15-2015 #10Enthusiast


- Join Date
- Oct 2013
- Location
- South of London, Surrey
- Posts
- 7,577
Bin there, Done that, we upgraded to the 40mm piston, WOW What a difference,

You hear of these engine upgrades, 10 more BHP here or there, honestly I've not really noticed it. but after driving my car on the oem brake set up, then upgrading to the 40mm set up you really, really notice it.
-
09-25-2015 #11Enthusiast


- Join Date
- Oct 2013
- Location
- Tucson, Arizona
- Posts
- 4,776
It's counter-intuitive to think that something designed to make you stop could make you faster but it's true.
Better brakes are a huge upgrade


 Reply With Quote
Bookmarks