Over the past couple of months I have been adding some Carbon Fiber parts to the car. Everything has been using the parts from XtremeSupercars. In the past I've done write ups on the rear applique and the rear brake ducts. More recently I've done a few more parts and have recorded video of the install and process. I'll be editing those and will be posting them soon.
For now, what I did was finish off with the swap out of the plastic hood vents on the GTS to the Carbon Fiber pieces from Xtreme. The hood vents he sells are completely carbon fiber but are only the perimeter of the vent. In other words no grill in the center like the factory parts. I went ahead and added a mesh to the units. I know there have been others that did the same, but here's how I did it.
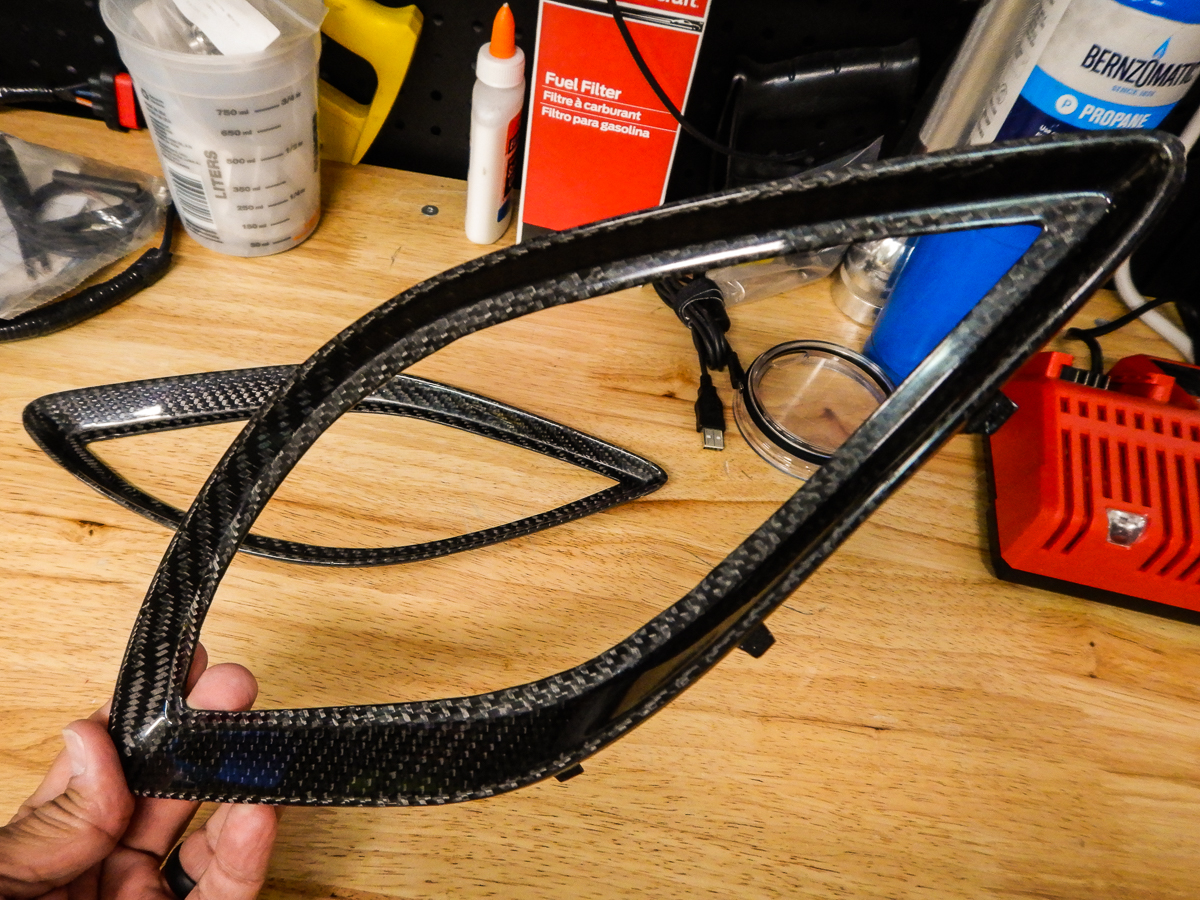
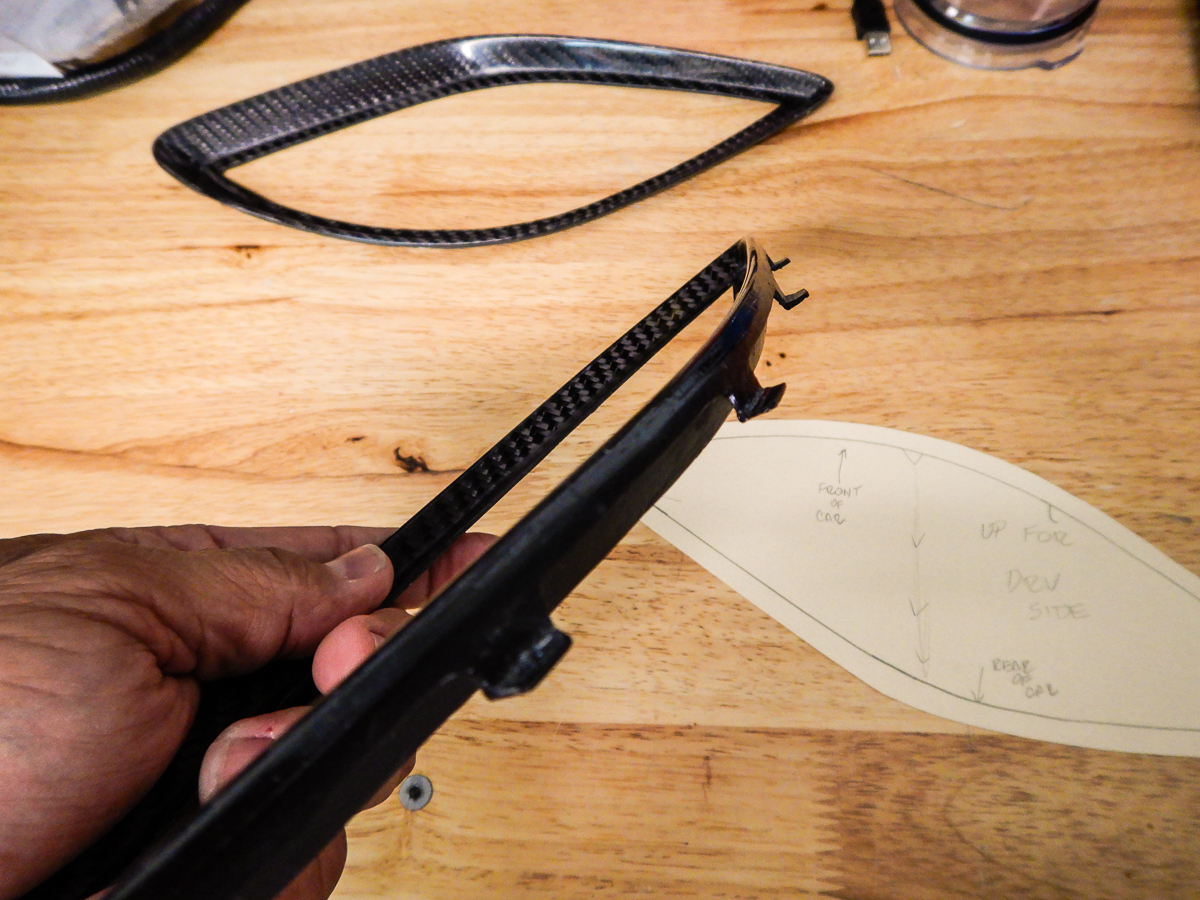
The parts themselves are excellent. The fit it perfect and drop into the factory opening perfectly. In fact, I'd say better than the OEM plastic part. Finish is beautiful, weave is nicely laid, just a great piece like all the others I have installed so far. You can easily install them exactly as they come from Xtreme and they would look perfect, but I wanted to close off the opening. Just to keep hands out of the engine bay if the hood is closed and just to hide/mask the hoses and cooler seen through the vents. The pieces as they came from Xtreme look like this.
The tabs on the rearward side of the vents drop into the factory grooves.
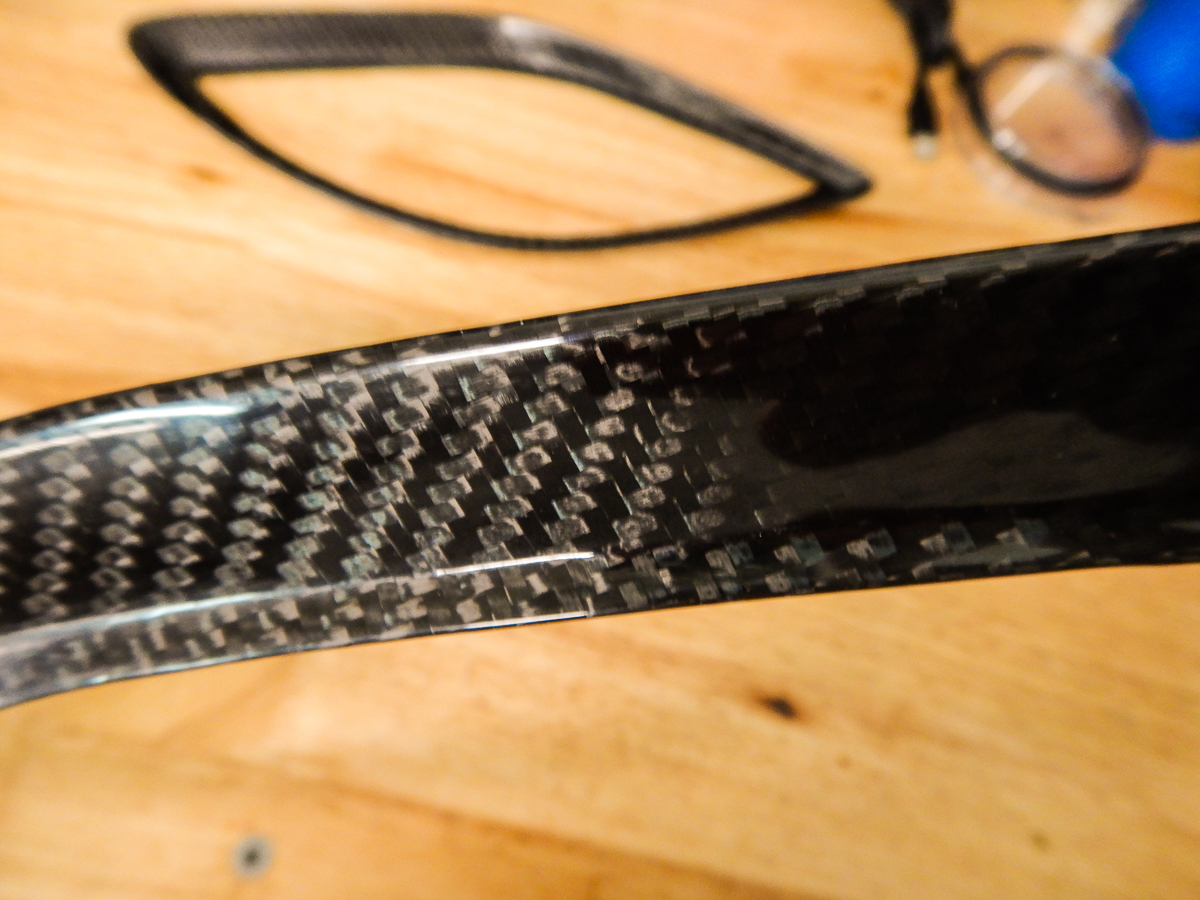
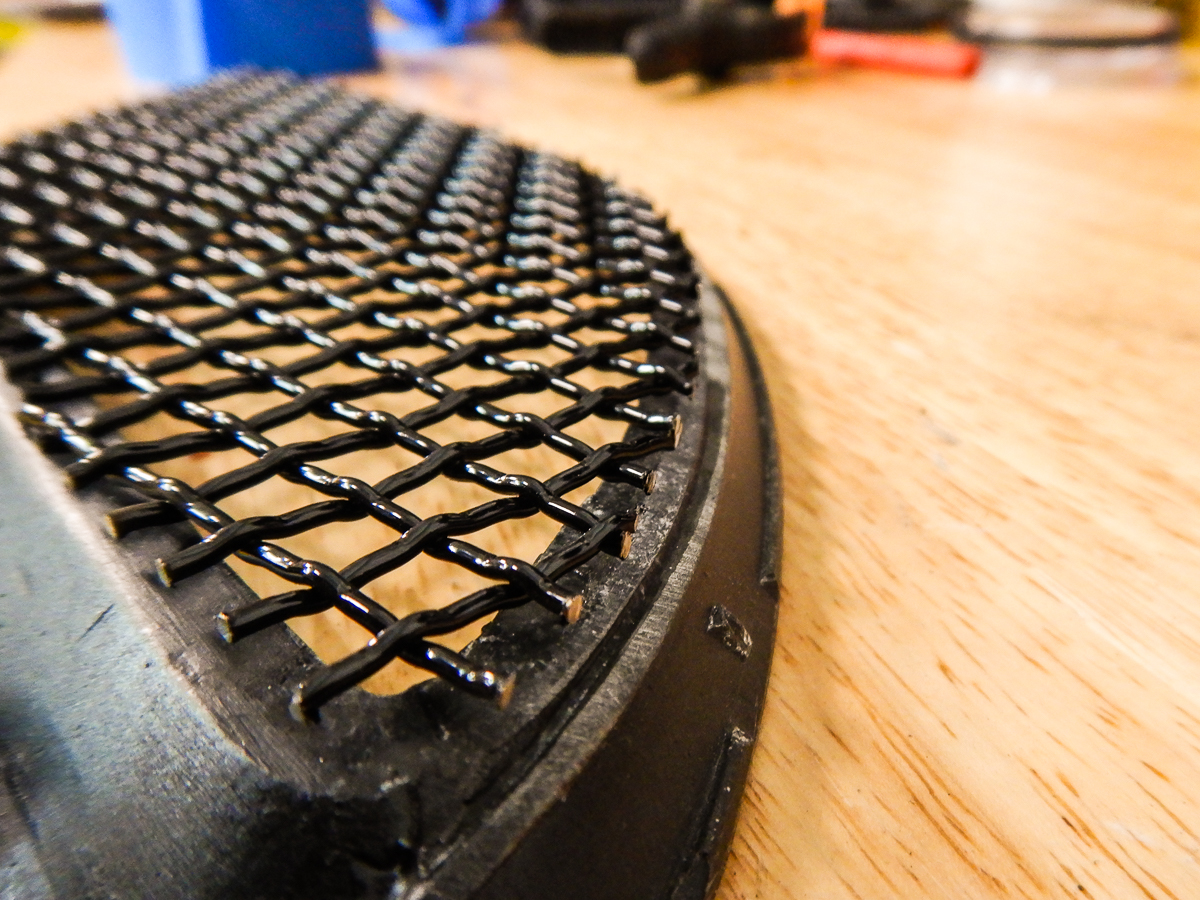
A closer shot of the weave
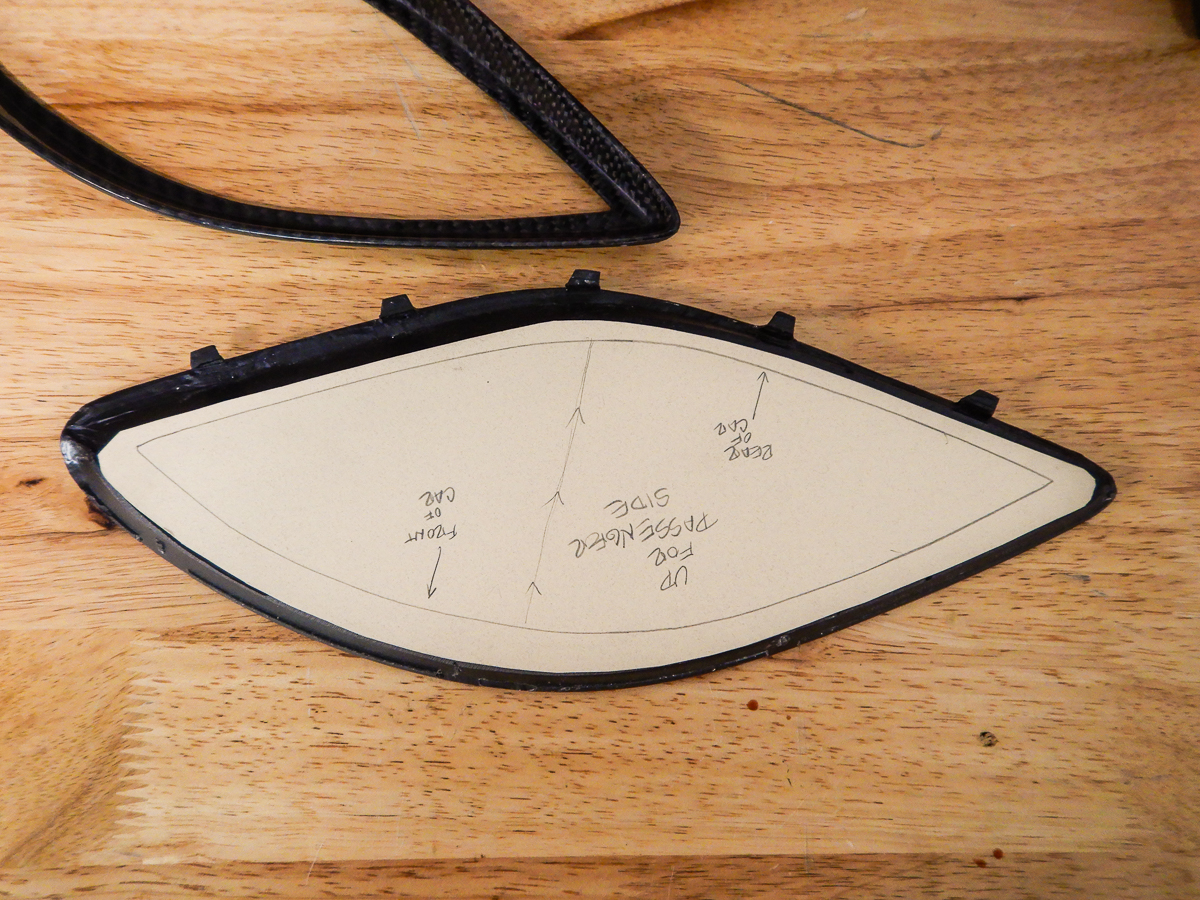
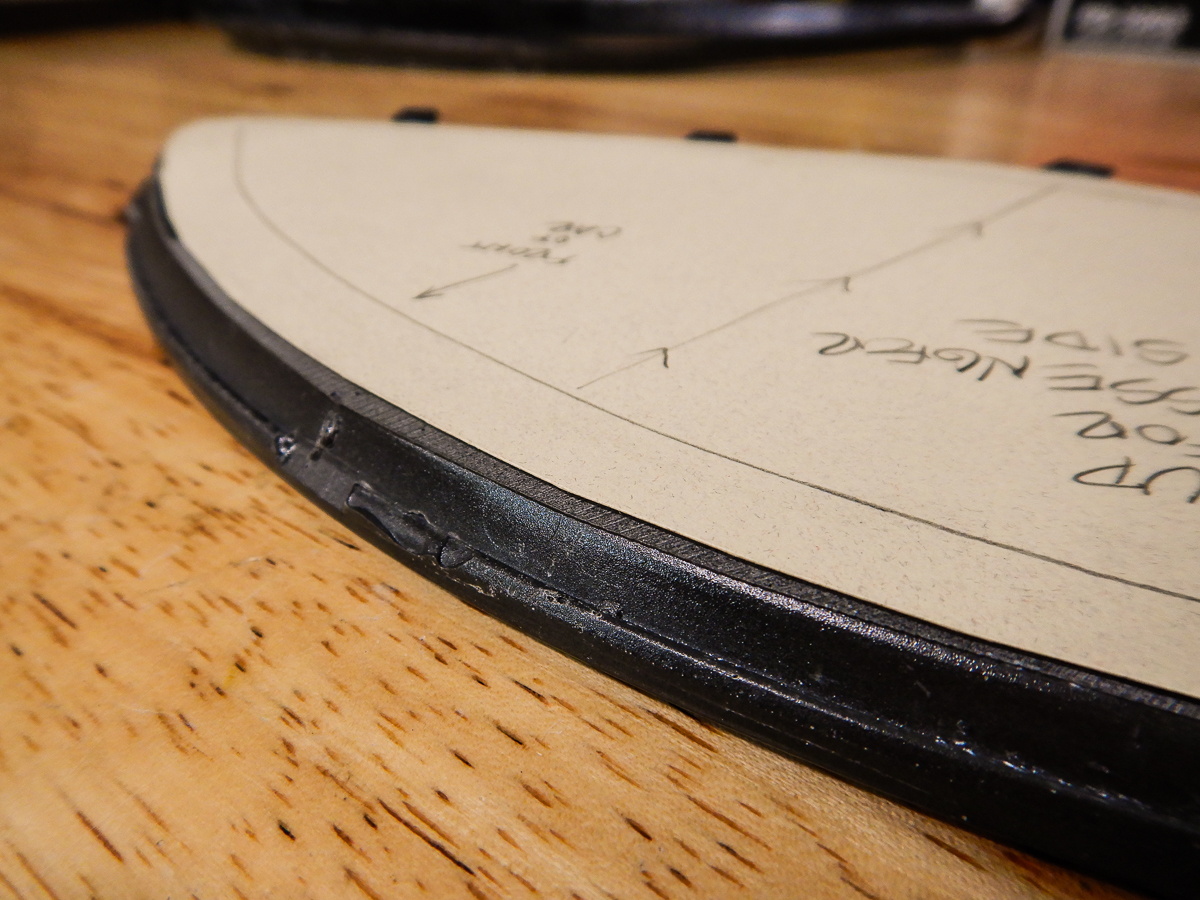
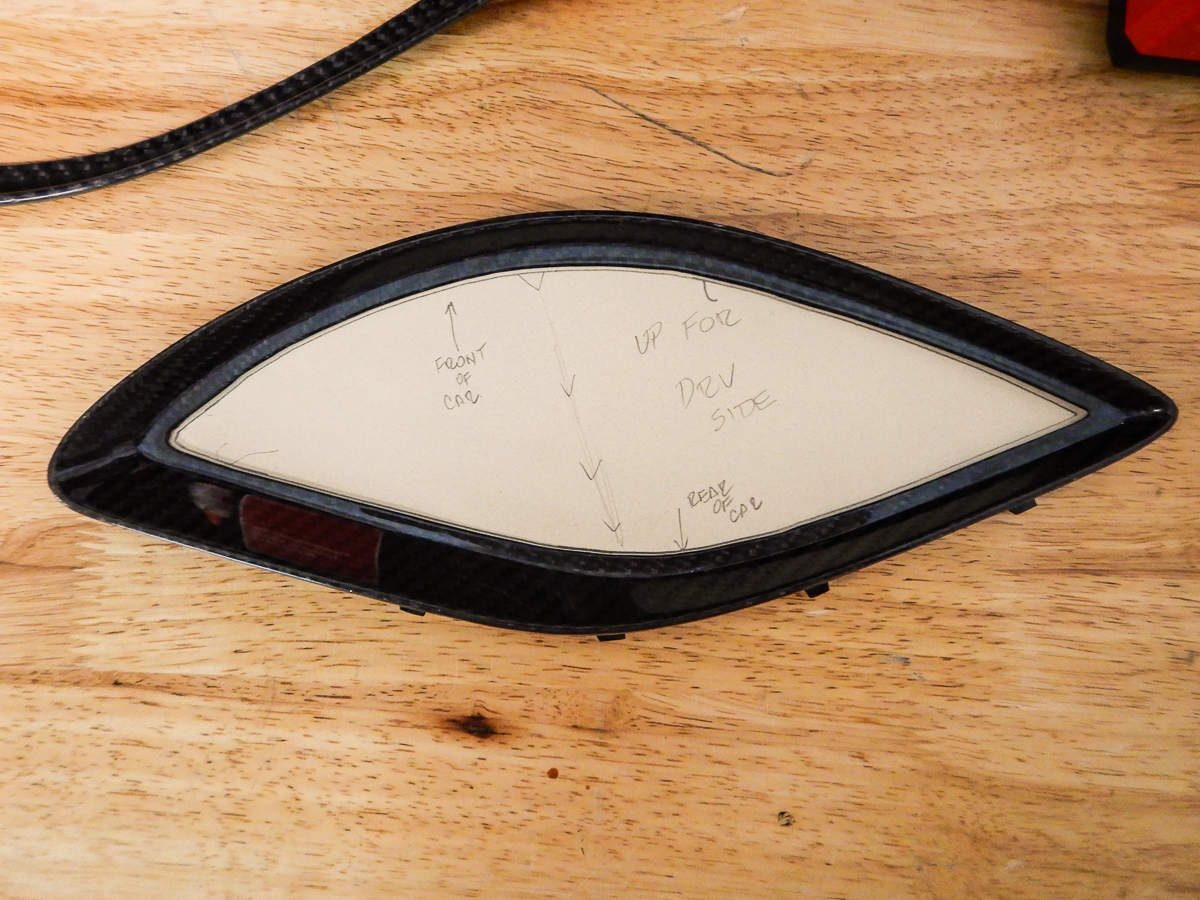
To make the grill insert I took some black mesh that was painted in glossy black. In order to get the piece cut I had to make a template. All I did was make a template with some card stock. I made the template to cover the underside of the new vent and made sure to go to the edge of the part on the under side.
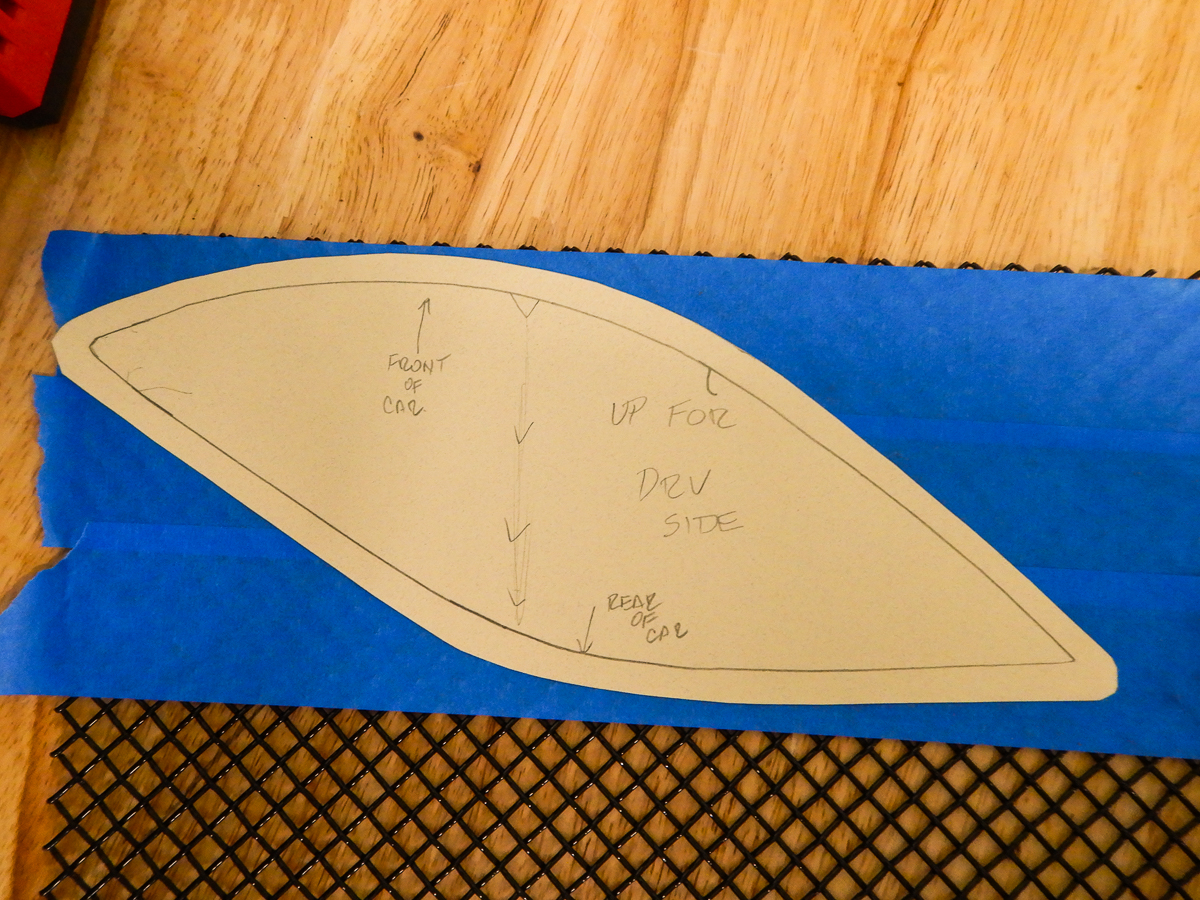
I then flip the part and template over to trace the outline on the inside of the vent onto the template. I also lined up the "grid pattern" so the new mesh would line up in a similar way to the way the stock unit was. That is the line in the center with the light line and arrowheads. I'll just use that to line up the joints in the mesh to that line.
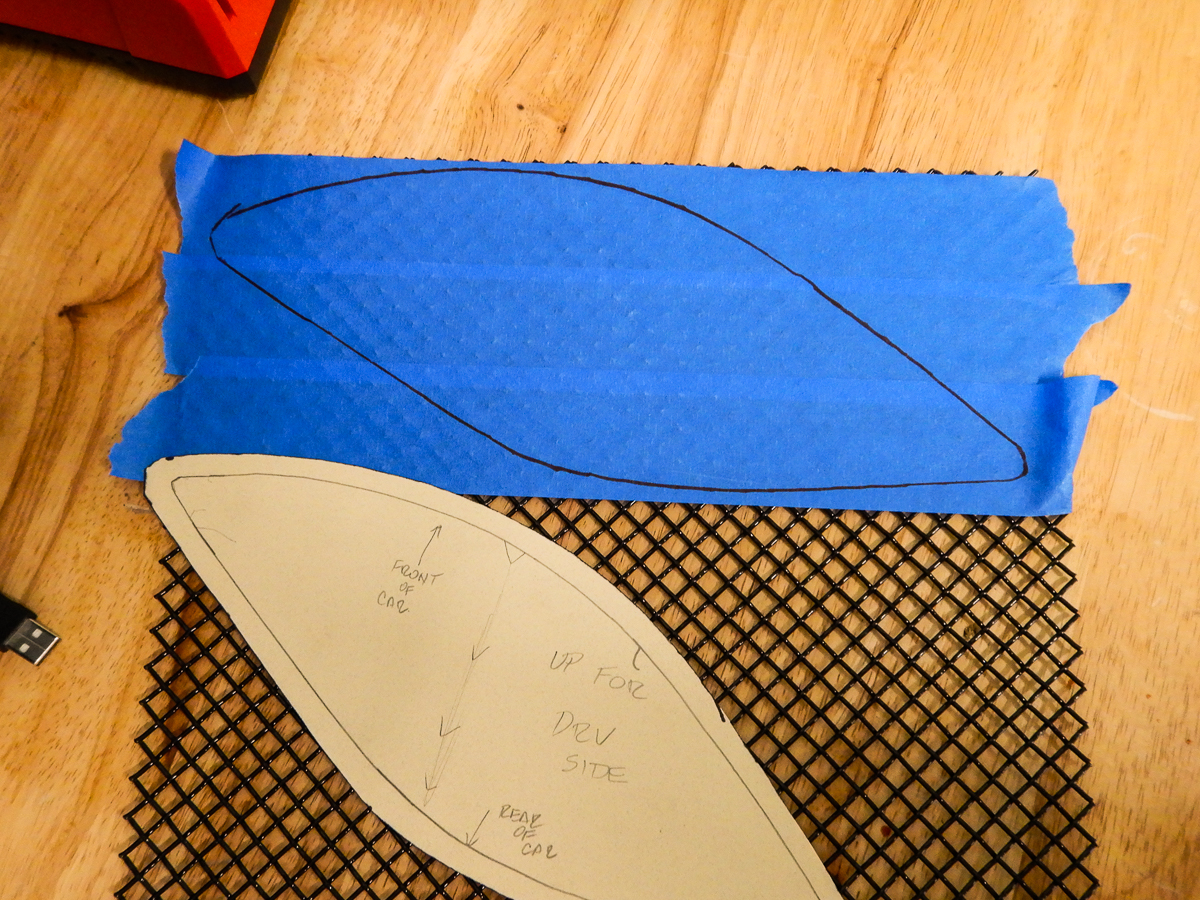
I then line the mesh with painters tape so I have something to mark the template against and I trace the outside edge. Notice that the light line with arrowheads lines up with the grid intersections on the mesh. (Yes, I am aware that I am anal) I traced the outside edge on the template onto the tape.
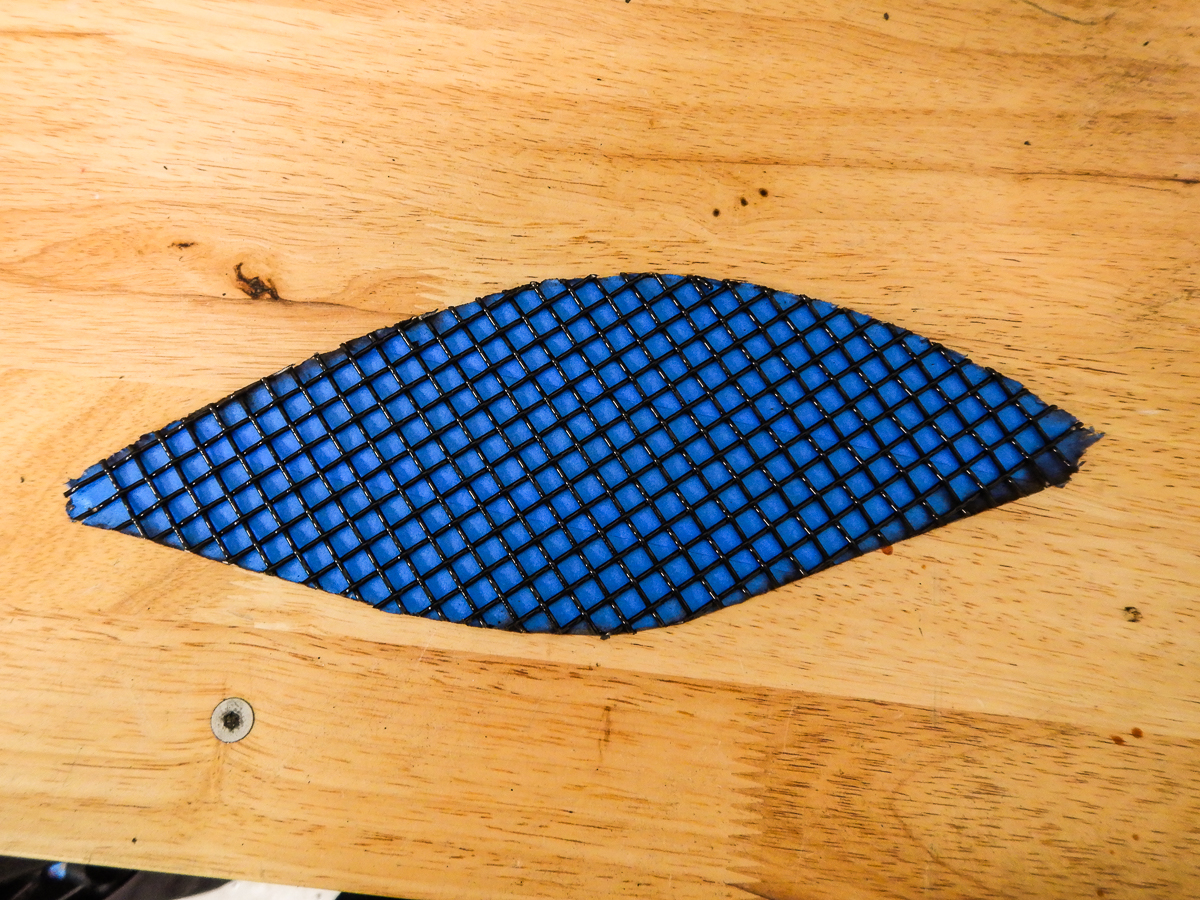
At that point I cut the mesh using an angle grinder with a cutoff wheel. It makes quick work of it. Keep as tight to the line as you can. You want the edge of the mesh to end up INSIDE the carbon fiber part so that it clears the opening. Once I cut it I had to come back and grind down a few edges to get the fit on the part perfect.
The dry fit test before I get ready to adhere it to the part.
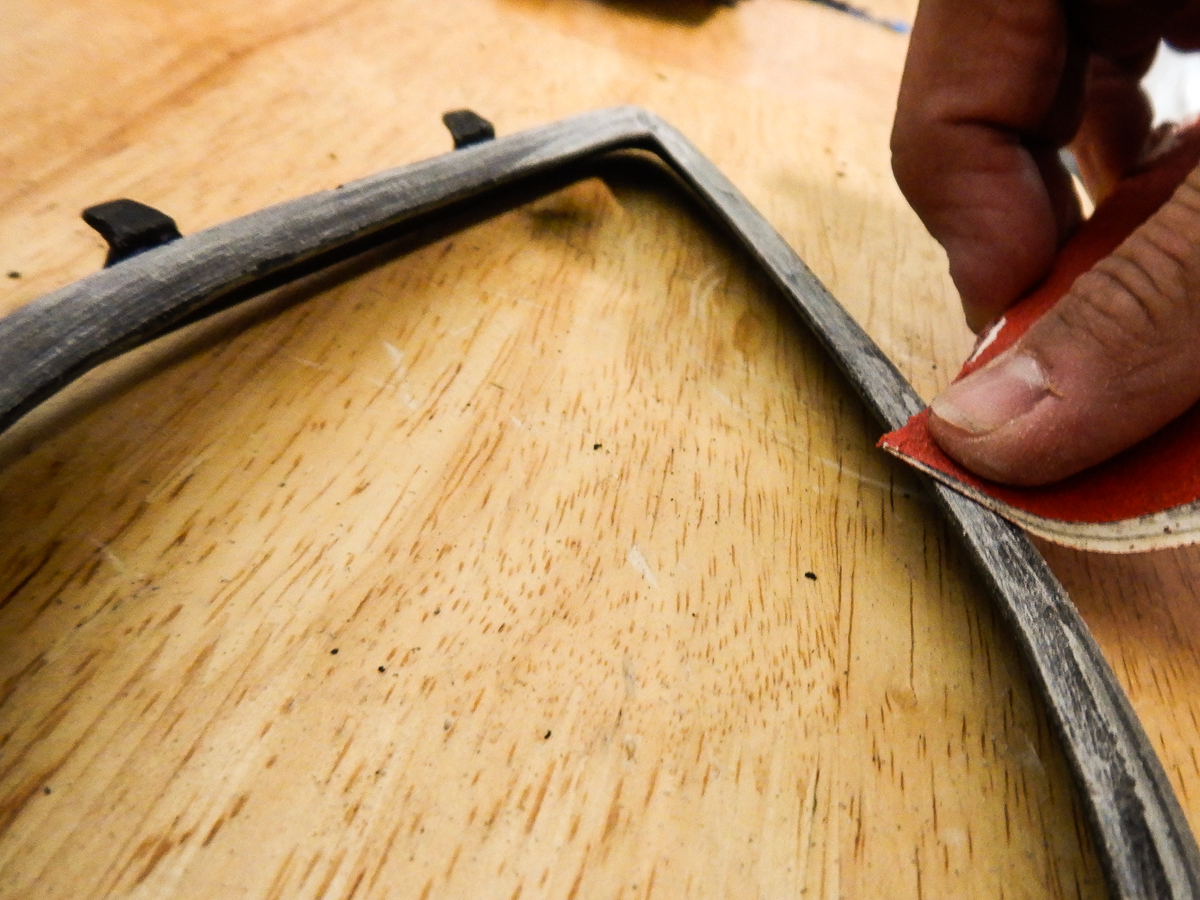
I decided to adhere the mesh with epoxy. I have a ton of it because of a car I'm working on so I use it. To make sure I get good adhesion, I sanded the underside of the part to scuff it up. You do not have to epoxy it. You can use pretty much any adhesive. Wayne at Xtreme suggested marine adhesive. For example, 3M 5200 adhesive. That would work just fine as well. Regardless, scuffing where you will adhere to the carbon fiber is a good idea.
The next step was to get my hands on some thin galvanized sheet metal. I had some lying around but you can get it cheap at your local hardware. I made two tabs about 1/2" thick and 3" long. These will be glued in between the mesh and carbon fiber part. I will use this to mechanically hold the part in place.
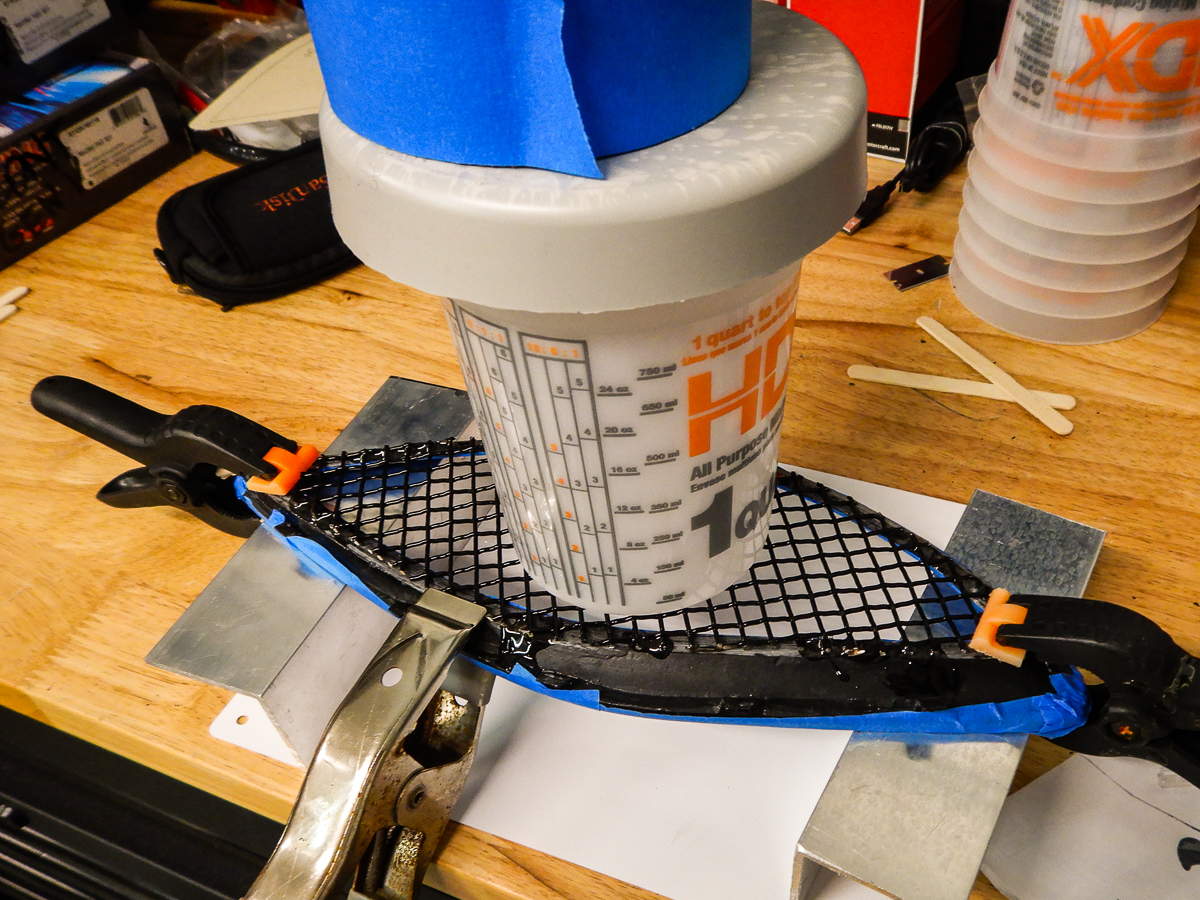
Next I masked the finished side of the carbon fiber with painter's tape. Make sure you do this so you don't have to deal with fixing a mess later. Once that is done I then mixed my epoxy and adhered the mesh to the carbon fiber piece. I clamped it down and added some weight to keep the mesh flat while the epoxy set.
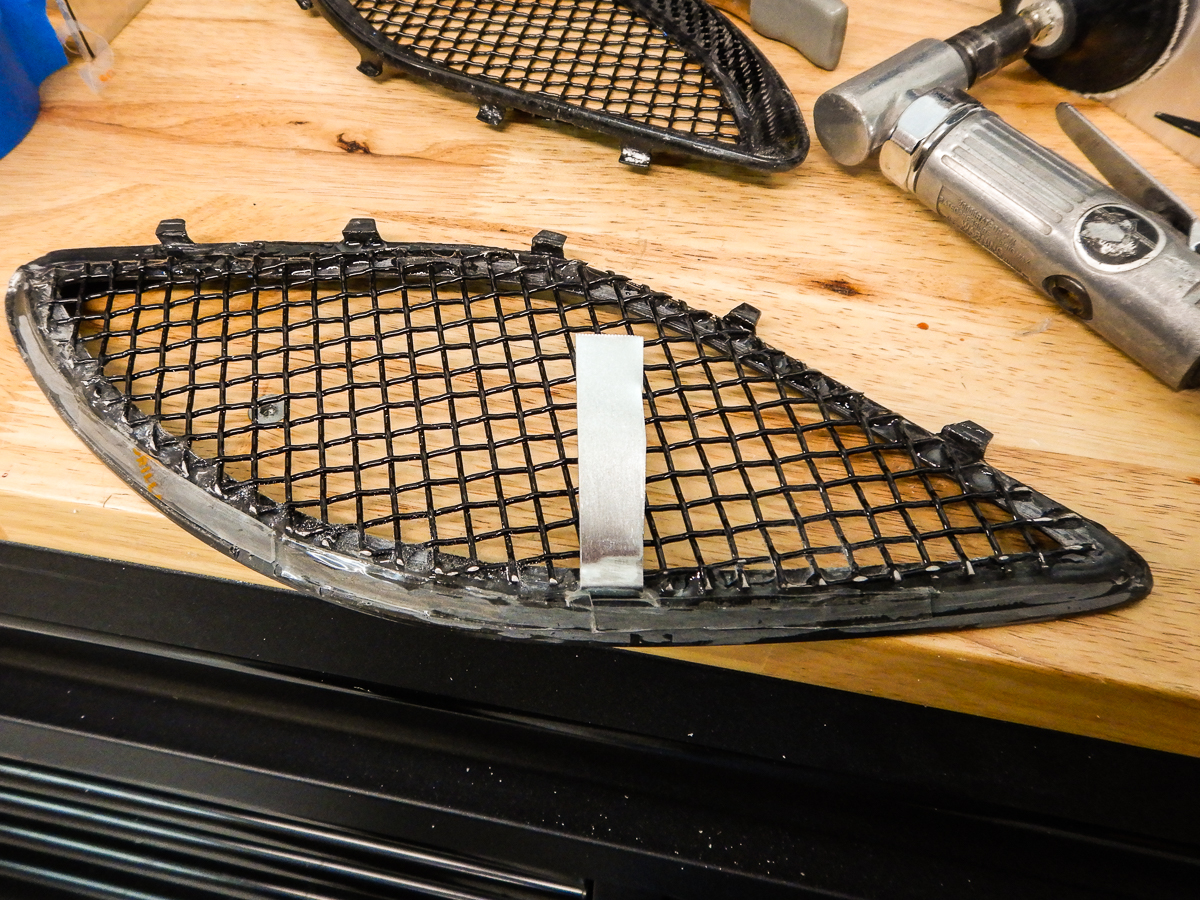
This is the final piece with the tab I mentioned in place.
The tab should be place on the side opposite the tabs on the carbon fiber piece. It should be over towards the inside of each vent. In other words, near the tip of the vent closest to the center of the car. I put them in about 2.5" in from the tip.
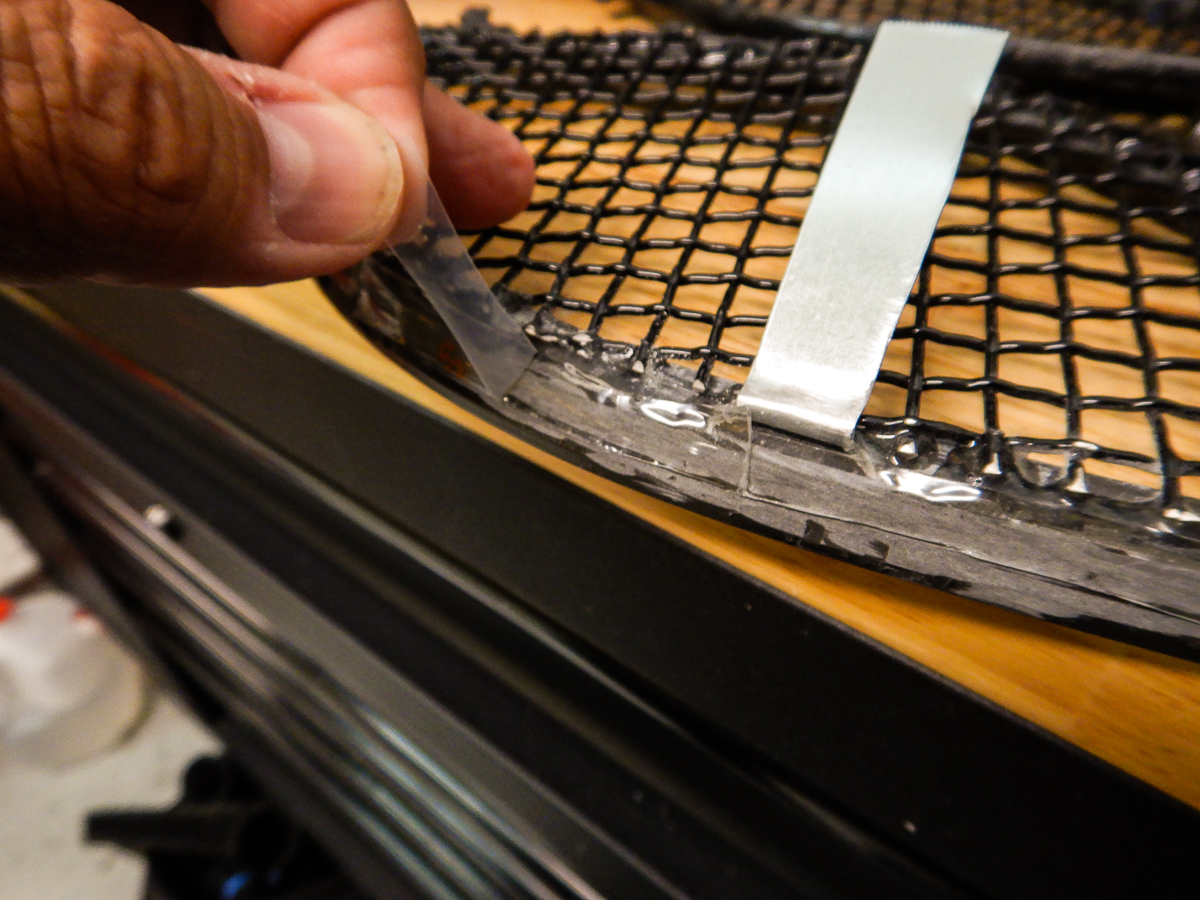
Last thing, I clean the front edge (when installed) of the carbon fiber part and the front inside edge of the hood opening. Then I put in a permanent, waterproof, double sided adhesive tape on the front edge. (I used Gorilla brand clear) This will hold the part in place without having to glue it in. You will see a small "lip" on the upper (side closest to the finished, glossy, carbon fiber) side. Keep the two face tape under that lip to assure a nice fit against the hood opening.
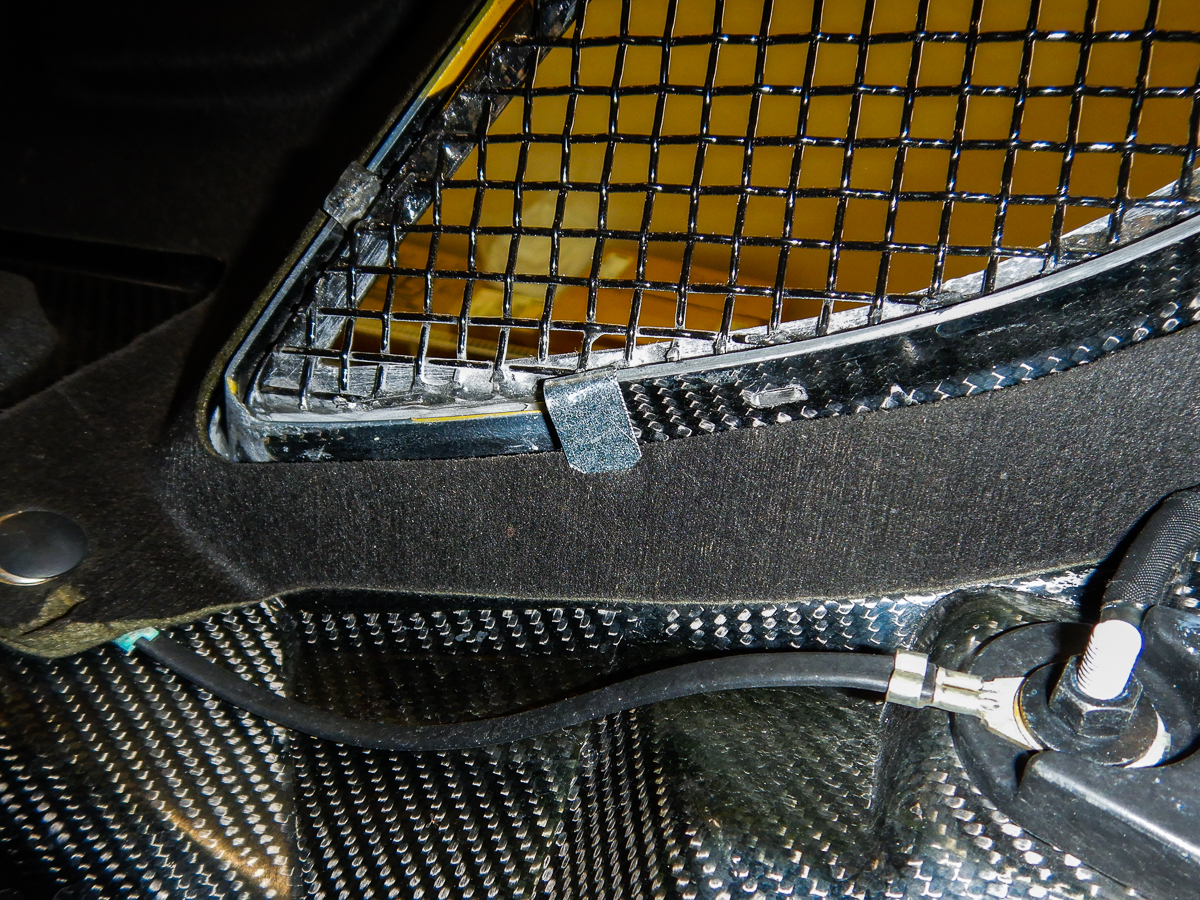
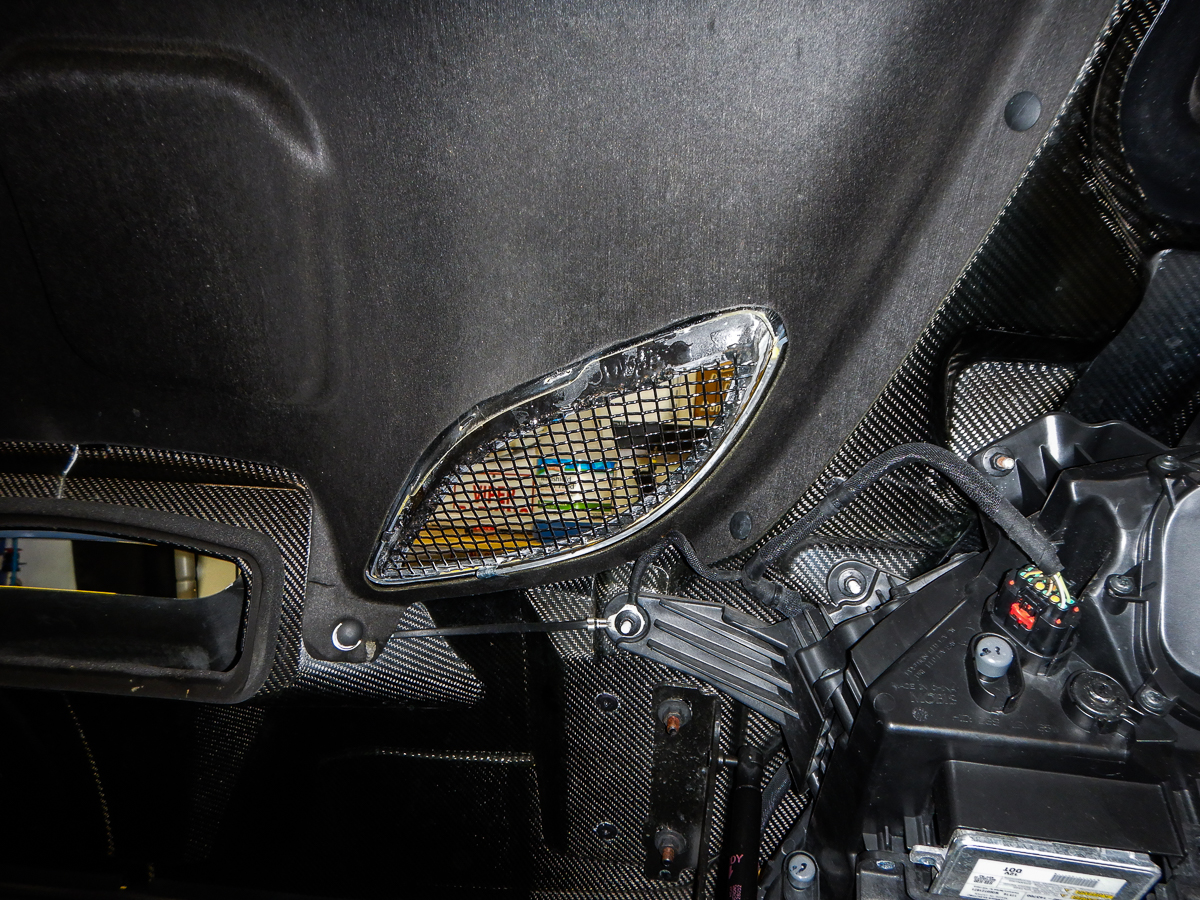
Now it's time to install the part. First, fold back the metal tab well to clear the opening. The back side (the one with the tabs) goes in first then I press in the front side (the one with the two face tape) well. This will bond the part in tightly and the fit will be excellent in the opening. Once I had it in place, I fold the metal tab over the edge of the hood on the inside of the hood. The photo is below.
All done.
Results 1 to 25 of 37
-
05-08-2020 #1
Carbon Fiber Hood Vents on my GTS
Luis V.
Miami, Florida
2002 Dodge Viper GTS - FE #298 & 2013 Dodge Viper GTS
-
05-08-2020 #2
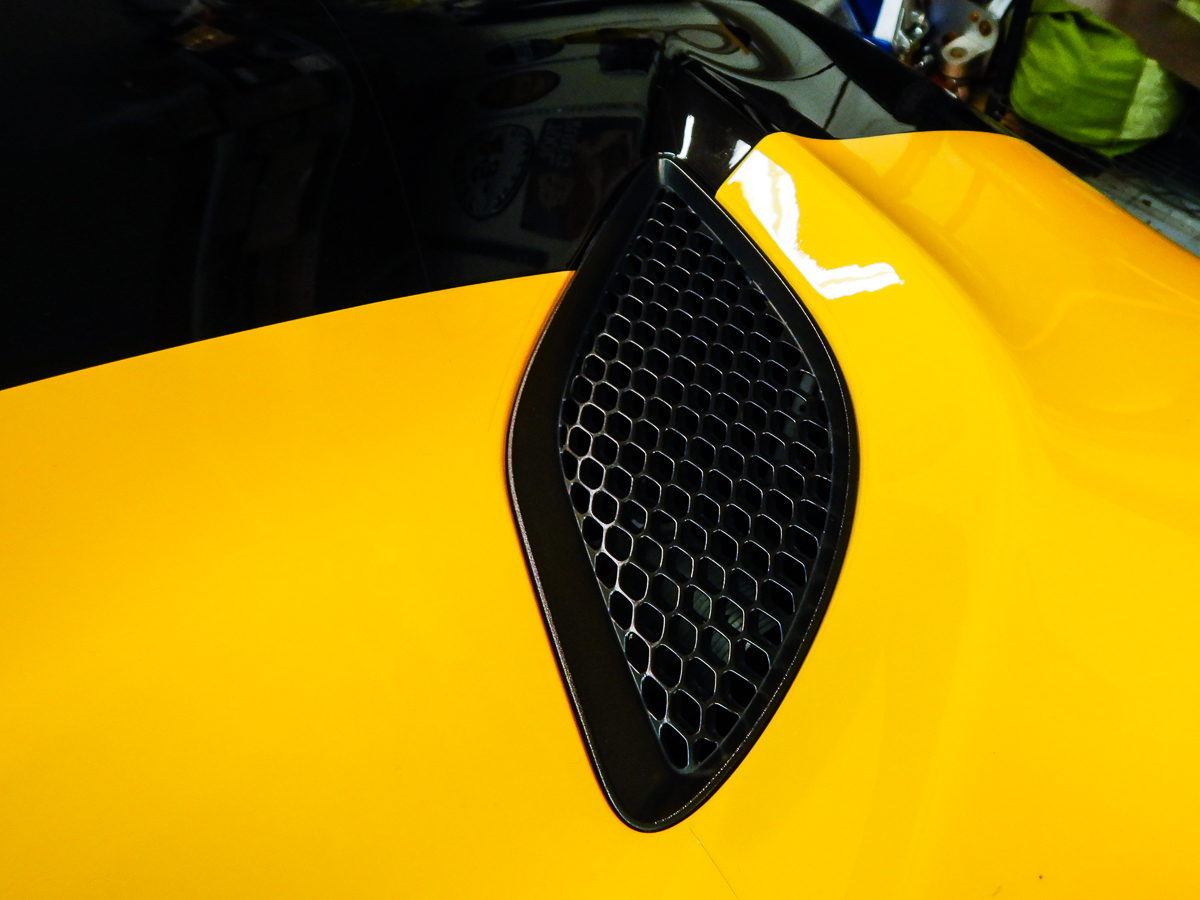
These are the shots of the original part.
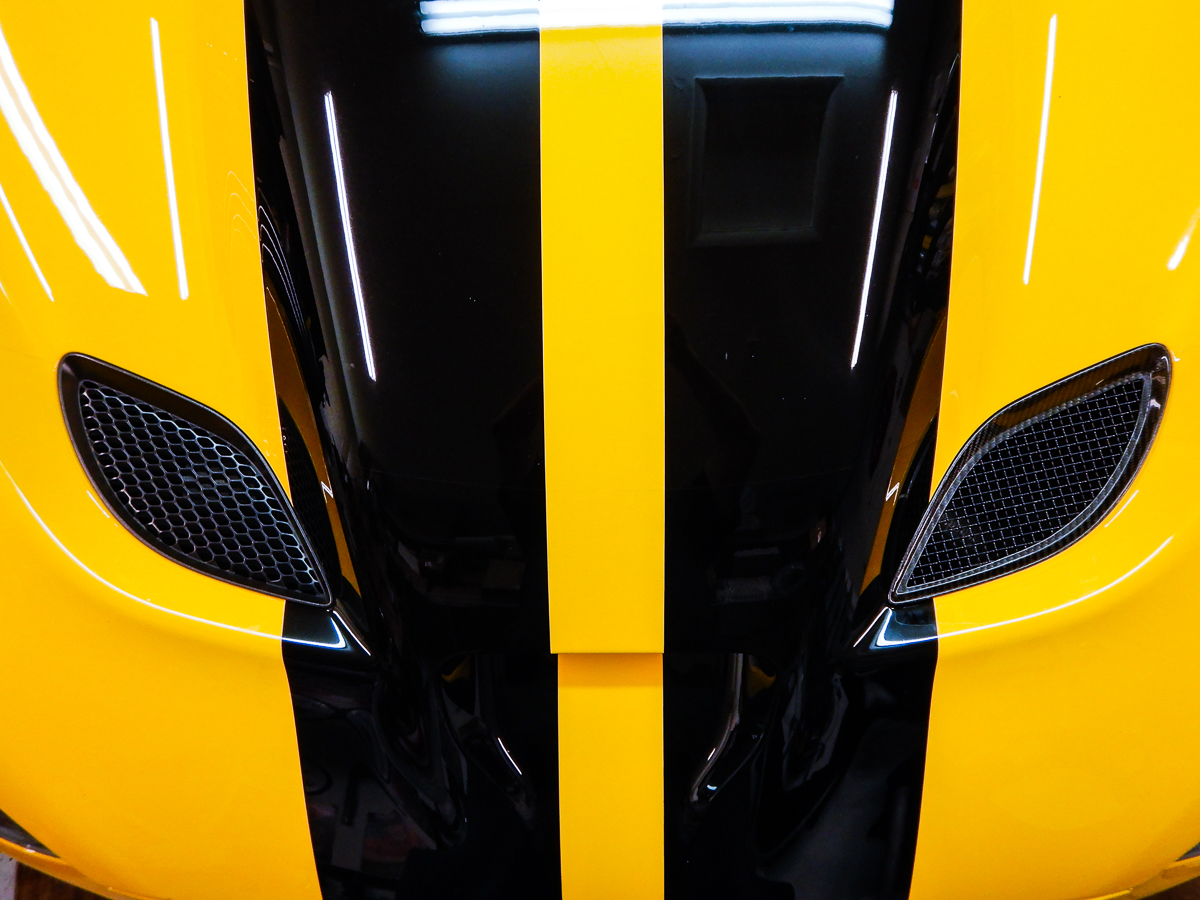
The new carbon fiber piece with the mesh in place.

This is the piece side by side with the OEM plastic. It looks SO MUCH BETTER!

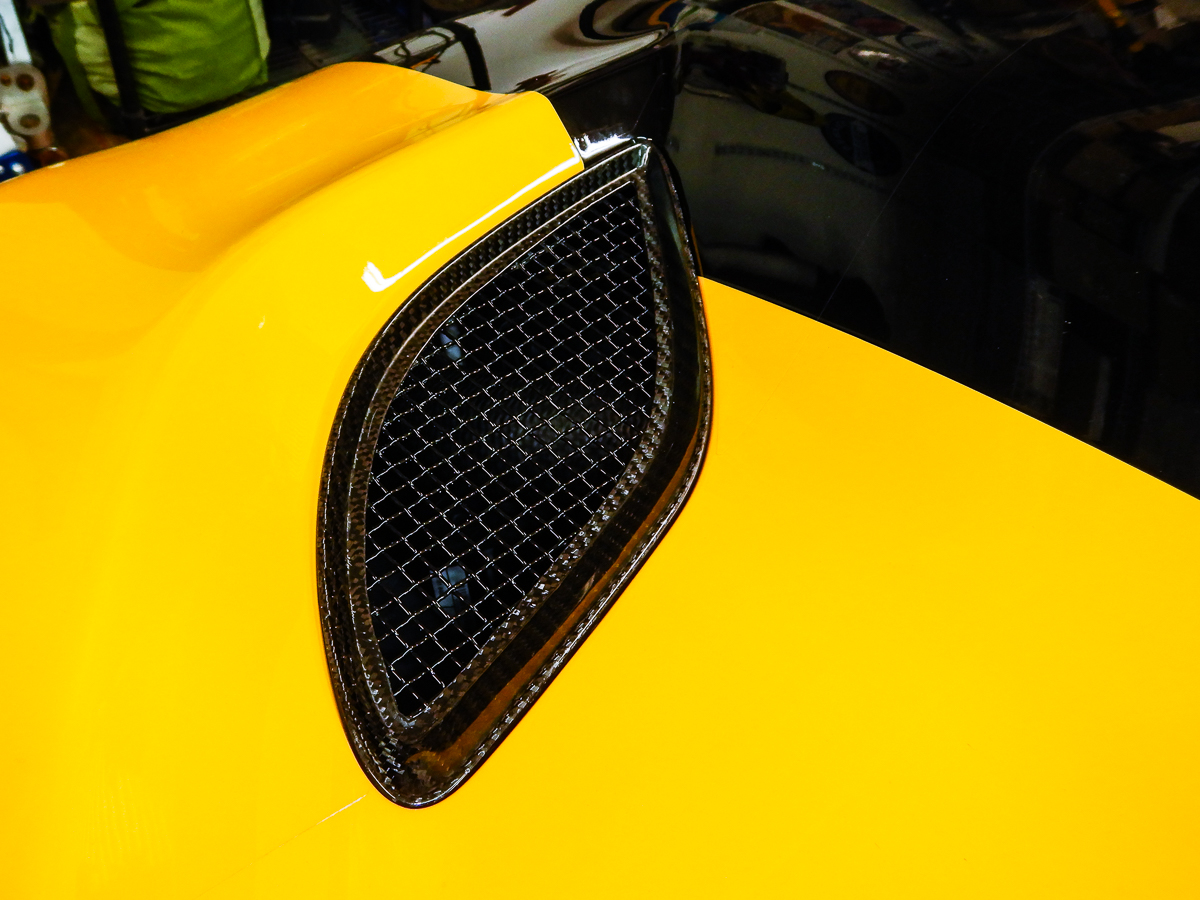
Then some other shots to show how it obscures the view into the hood.
 Luis V.
Miami, Florida
2002 Dodge Viper GTS - FE #298 & 2013 Dodge Viper GTS
-
05-08-2020 #3Enthusiast


- Join Date
- May 2016
- Location
- New York
- Posts
- 477
looks great! Tempted to copy cat!
-
05-08-2020 #4Enthusiast


- Join Date
- Sep 2014
- Posts
- 279
Looks like what factory should of did,I want those on my Viper.
-
05-08-2020 #5Enthusiast


- Join Date
- Jun 2019
- Location
- Central Florida
- Posts
- 1,042
I dig it. I have the CF TA spoiler and the Carbon Fiber side vents. Those would look great. Total cost to produce?
-
05-09-2020 #6Enthusiast


- Join Date
- Dec 2014
- Location
- Outside of Charlotte
- Posts
- 1,708
Welcome to the CF vent club!
-
05-09-2020 #7Enthusiast


- Join Date
- Apr 2019
- Location
- McKinney, TX
- Posts
- 78
Looks great! I think we’re twins!
-
05-09-2020 #8Enthusiast


- Join Date
- Apr 2019
- Posts
- 556
Yup. Welcome to better looking vents. One guy stated he didn't care for the pattern of the mesh because it is not the same pattern/dimensions of the original plastic mesh. I looked, but its not out there so I think that is "fabricator's preference" of what to use. This is a fun an easy project for a rainy day. I did have an issue with my 3M automotive tape coming loose in a couple of spots so I came back later with some black silicone and ran a bead underneath to secure everything in place. It can still be removed if I like, but no chance of these popping off at high speed anymore. I also had to make sure my OCD would be happy with the mesh direction mirrored from side to side.
Viper Vent3.jpg
Viper Vent2.jpgLast edited by ViperNC; 05-09-2020 at 09:10 AM.
-
05-09-2020 #9Enthusiast


- Join Date
- Sep 2017
- Location
- NJ
- Posts
- 251
-
05-09-2020 #10Enthusiast


- Join Date
- Nov 2013
- Location
- CT
- Posts
- 818
Nice job guys. Looks wayyyyy better than the plastic ones. Hmmmm might have to join the club too
-
05-09-2020 #11
-
05-09-2020 #12Enthusiast


- Join Date
- Oct 2013
- Location
- Pittsburgh
- Posts
- 1,634
Awesome job by all!
-
05-09-2020 #13Enthusiast


- Join Date
- Apr 2019
- Posts
- 556
-
05-09-2020 #14Enthusiast


- Join Date
- Mar 2016
- Location
- Los Angeles
- Posts
- 663
Soooooooooooooooo do you want to make me a set? lol
Killer job. Looks incredible and is exactly what these cars needed from the factory.
-
05-09-2020 #15Enthusiast


- Join Date
- Jun 2017
- Location
- Las Vegas
- Posts
- 146
-
05-09-2020 #16Enthusiast


- Join Date
- Dec 2014
- Location
- Outside of Charlotte
- Posts
- 1,708
-
05-09-2020 #17Enthusiast


- Join Date
- Feb 2017
- Location
- Willow Park, Tx
- Posts
- 199
I just ordered all the stuff to make a set for a forum member like how I did mine. I like the mesh I used. Same mesh I sent outnumbered to use.
A8E44318-D6EE-46DF-8BC0-52C811CB9B21.jpgLast edited by dsp300c; 05-09-2020 at 10:51 PM.
-
05-09-2020 #18Enthusiast


- Join Date
- Jun 2019
- Location
- Central Florida
- Posts
- 1,042
My GTS could use a set. lol
-
05-10-2020 #19Enthusiast


- Join Date
- Oct 2013
- Location
- Quebec, Canada
- Posts
- 682
-
05-12-2020 #20Enthusiast


- Join Date
- Oct 2013
- Location
- Pittsburgh
- Posts
- 1,634
Are the carbon bezels different for the 6 vent hood than the 2 vent hood? The ones for my ACR don't have any tabs on them like the ones in the original post.
-
05-12-2020 #21Enthusiast


- Join Date
- Oct 2013
- Location
- Phoenix
- Posts
- 651
Love it. One of the first mods I did on the car. I didn't use the mesh though. I like the open look.

-
05-12-2020 #22Enthusiast


- Join Date
- Oct 2013
- Location
- Phoenix
- Posts
- 651
-
05-12-2020 #23Enthusiast


- Join Date
- Jun 2017
- Location
- Las Vegas
- Posts
- 146
-
05-12-2020 #24Enthusiast


- Join Date
- Oct 2013
- Location
- Pittsburgh
- Posts
- 1,634
-
05-12-2020 #25Enthusiast


- Join Date
- Feb 2017
- Location
- Willow Park, Tx
- Posts
- 199
i don't make the actual cf rings. Xtreme makes them. i added the mesh to the rings for my car after talking with ben gilby on how he did his. i'll be doing a set for the member SilveRT8. i've ordered all the stuff to put it all together. once i've installed the mesh on the rings i'll send them to him so he can put them on his car. that pic is the finish product of mating the mesh to the cf rings for my car.
Last edited by dsp300c; 05-12-2020 at 02:24 PM.



 Reply With Quote


Bookmarks