I finally received my Klearz side marker lights after a couple month wait. Ordered directly from their website. Even though they were on back order initially, they had good customer support when I had questions. I went with clear lens and white housing. I also opted for LED bulbs (amber in front and red in rear). From what I can tell, they use OEM Dodge parts (probably why they costs what they do), separate the lens and housing, paint per order and re-glue the two pieces.
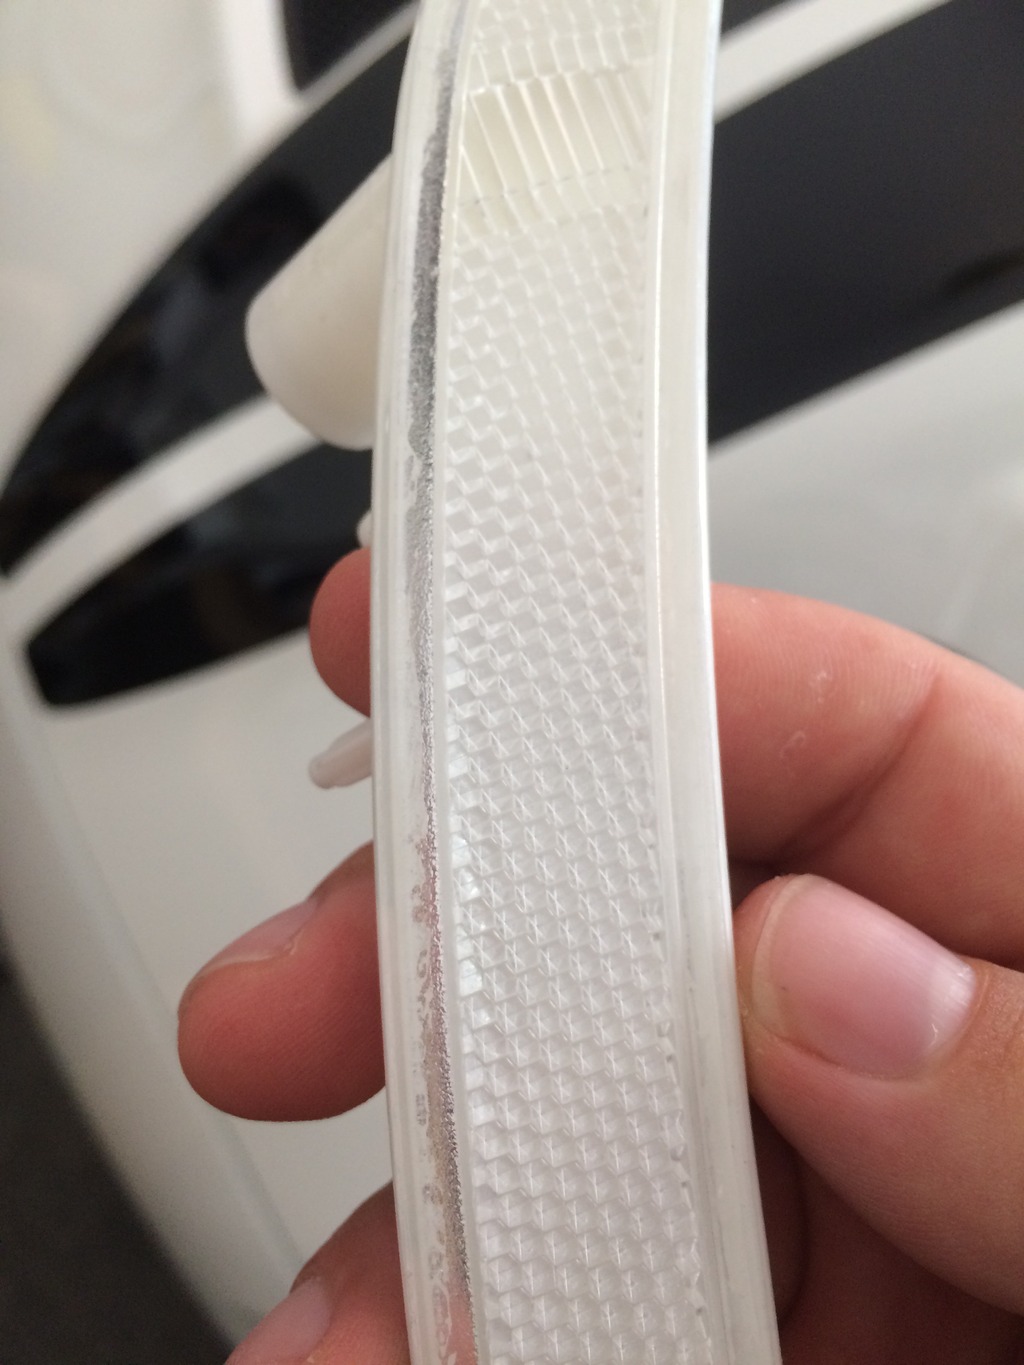
Quality: 8/10. Just being picky, but I could see quite a bit of glue residue. This is probably because I did white against clear. It wouldn't be as visible on darker colors.
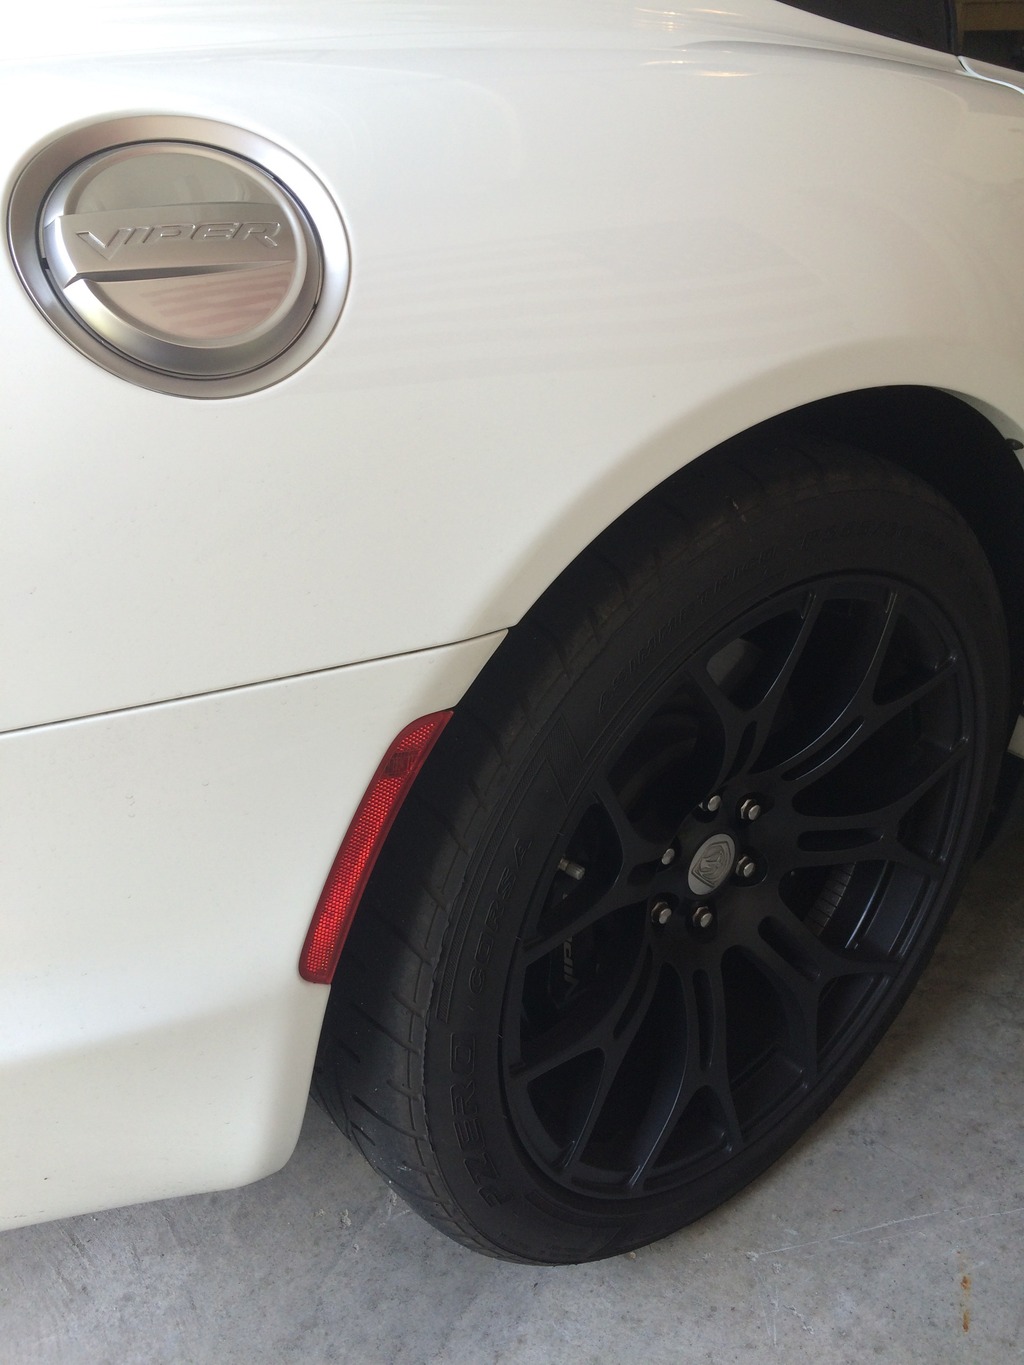
Fitment: 8/10. This is nothing against Klearz, its the lens' in general. They fit like OEM which is a 8/10 to begin with. The front amber LED's look nice and I'm a little worried the rear red will look pink at night, but I haven't had a chance to see it at night yet, so I will update this thread if that's the case.
Difficulty level: 4/10. This isn't the hardest thing in the world to do, but you will scrape up your hands and I recommend having a 6 pack on ice.
Tools needed:
-Flat head screwdriver
-10mm socket and wrench
-3/4" socket for removing wheels
-T 27 Torq bit
Optional:
-Drill with adapters for sockets
-Breaker bar & Torque wrench for wheels
As for the install, there is no instructions so it was a little bit of a learning curve. It took me around 2.5 hours from beginning to end. If I were to do it again, I could get it done in a little over a hour I think... I hope this helps others out there who are going to take this project on.
Rear removal: Get the rear in the air and remove the wheel. Remove all the T 27 Torq screws in the wheel liner. Most are obvious, but don't forget there are a couple on the under side of the car by the exhaust, and a few on the under side of the bumper. There is also a T 27 in the middle of the liner along with a 10mm screw. Once all that is removed, the liner should be free and can be moved around. At this point, push/pull/slide the liner towards the car a couple inches to reveal the inside of the lens. As for removing the lens, I found it easier to pull the light bulb section from lens and hold it out of the way. Last thing holding the lens in place is two 10mm bolts (if you want to call it that). They are by far the biggest pain in the ass thing with the whole install. My fat fingers and a wrench or socket had a hard time getting it off. Once they are off, use a flat head screwdriver on the inside center section of the lens to push in the push-clip in so the lens can slide out.
Rear install: Now is the time to install the new bulbs if you ordered them. FYI-factory bulbs are clear. Pull out the bulb from the assembly you moved to the side earlier. Install the LED in its place. ***Turn on your parking lights to make sure the light turns on.*** LED's are directional. If it doesn't light up, rotate it 180 degrees, try again. After you good with lights, put the lens in the whole, screw in the two 10mm bolts from the disassembly, push light bulb assembly into lens hole, button up all torq bolts and put your wheel back on.
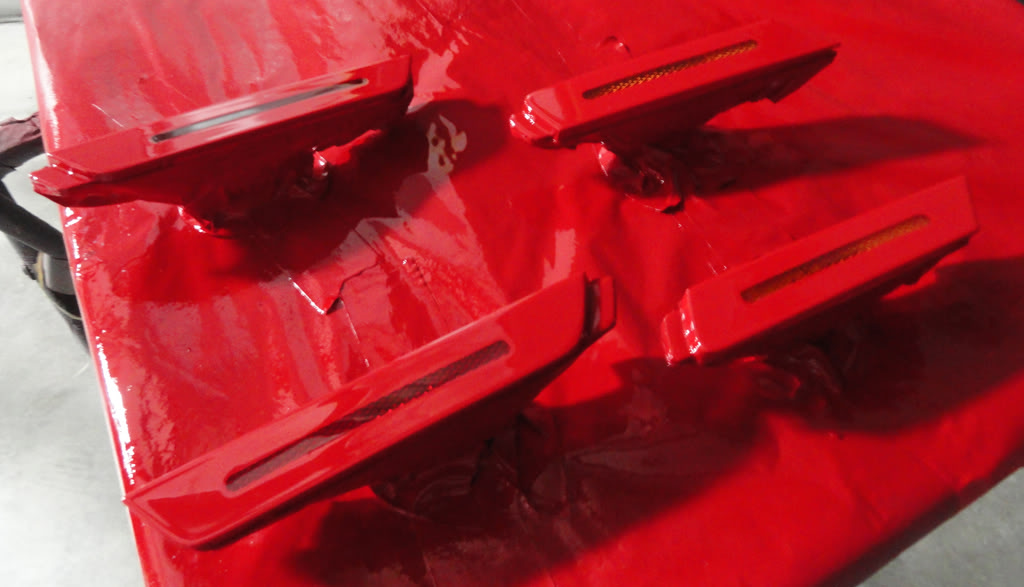
The images above are all parts of the light bulb assembly. I took it apart because I didn't know what was doing. You don't need to do that, just pull out the OEM bulb and install LED in its place.
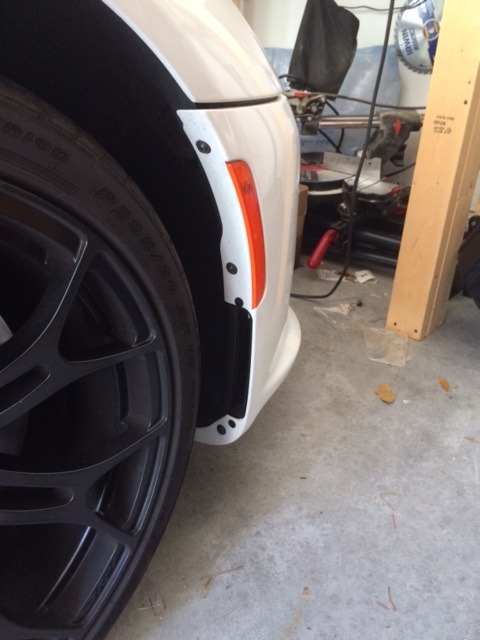
Front: I struggled with this, but I know how to do it nowFirst, remove the front wheels. Second, remove all torq bolts in the front section of the wheel liner that are attached to the bumper. Third, remove all the remaining torq bolts on the top and bottom of the front bumper. This seems like a lot of work, but trust me, you will appreciate not tearing up your hands with the limited space by only removing some of these. Once the bumper is loose, you can slide it forward enough to get in there and remove/replace lens and bulbs. Same as the rear in that regard. ***When removing the bolts on the top of the bumper, be observant of the spacers between the bumper and bumper support. Some had none, others had 3. Part of a hand made car I guess.***
Here is before and after:

Results 1 to 21 of 21
-
07-18-2015 #1Enthusiast


- Join Date
- Oct 2013
- Location
- Bonaire, GA
- Posts
- 419
Klearz side marker light install guide and review
-
07-19-2015 #2Enthusiast


- Join Date
- May 2015
- Location
- Lynchburg, VA
- Posts
- 110
Awesome write up with great detail!
I've never liked the markers either, but that's a lot of work for swapping them out. Probably not too bad if you paired it with another upgrade going on and the car was already up with liners loose etc...
-
07-19-2015 #3Enthusiast


- Join Date
- Aug 2014
- Location
- Podunksburg, PA
- Posts
- 924
Great write up. Thanks for the info!
-
07-19-2015 #4Enthusiast


- Join Date
- Oct 2013
- Location
- Tysons Corner, VA
- Posts
- 4,676
I guess the important question - was it worth the time and money?
-
07-19-2015 #5Enthusiast


- Join Date
- Oct 2013
- Location
- Houston, TX
- Posts
- 3,005
-
07-19-2015 #6Enthusiast


- Join Date
- Oct 2013
- Location
- Bonaire, GA
- Posts
- 419
Is it worth it? if you are already doing a deep clean on the car and will have it in the air with the wheels off, then probably. Otherwise, it's a lot of work for a cosmetic change. I like how it looks on my white car, but for the price, any other color car should look into something like tony did on his Camaro. In fact,
if I would have really thought about it, I should have done the same thing when I had my engine covers painted white.
I really didn't like the orange and red in the side of white car. Seemed to throw off the flow of the body and paint.
Also, I checked the light output last night and the rear doesn't look pink at all. It's a very nice clear red.
-
07-20-2015 #7Enthusiast


- Join Date
- Oct 2013
- Location
- Bonaire, GA
- Posts
- 419
-
07-20-2015 #8
looks perfect
THE IGNORE FEATURE WORKS, TRY IT...
-
07-20-2015 #9Enthusiast


- Join Date
- Apr 2015
- Location
- Silver Springs FL
- Posts
- 2,399
I wonder how they would look on my blue car. They would basically just be blue housings with a clear outside? I dunno if that would look good on mine. I cant picture it.
I applaud your initiative though! looks good on yours!
-
07-20-2015 #10Enthusiast


- Join Date
- Nov 2013
- Location
- PAST RED LINE
- Posts
- 590
Attachment 11969
I did mine with tint when i rapped the car.
-
10-16-2019 #11Enthusiast


- Join Date
- Oct 2013
- Location
- Close to Columbus OH-IO
- Posts
- 124
I'm probably going to be a Gen5 owner here soon. White. I know these things are going to bug me. Appears they're not offered anymore anywhere. Anyone know any different? I'd settle for being all red, just not orange. Tks, Andy
-
10-16-2019 #12Enthusiast


- Join Date
- Nov 2016
- Location
- London UK
- Posts
- 1,178
these guys still do it....I got mine from them.
http://www.clearcorners.com/products/dodge/viper5/
-
10-16-2019 #13Enthusiast


- Join Date
- Oct 2013
- Location
- Bonaire, GA
- Posts
- 419
Man, I forgot all about this thread. I still have the clear fronts, but the rears started having problems so I swapped back in the OEM lenses. As for aftermarket solutions, check out the side marker lights for fiat 500's. I'm 99% sure I read they are the same as the gen V viper. Something like this:
https://www.ebay.com/i/123178497224?...26pg%3D2386202
-
10-16-2019 #14Enthusiast


- Join Date
- Dec 2014
- Location
- Dodge City
- Posts
- 763
-
10-17-2019 #15Enthusiast


- Join Date
- Oct 2013
- Location
- Close to Columbus OH-IO
- Posts
- 124
Thanks guys! That FIAT option looks like a monetary winner. Guess I'll try that first when it comes time. Appreciate it - Andy
-
10-17-2019 #16Regional President

VOA Mamba Member
since 2013
South Florida

- Join Date
- Nov 2013
- Location
- South Florida
- Posts
- 221
Looks Great, especially the white on white, BUT really only 1 six pack in 2.5 hours!!! maybe I really do have a drinking problem. great write up
-
10-19-2019 #17Enthusiast


- Join Date
- Sep 2015
- Posts
- 638
-
10-19-2019 #18Enthusiast


- Join Date
- Jun 2019
- Posts
- 105
-
10-21-2019 #19
-
10-22-2019 #20Enthusiast


- Join Date
- Apr 2019
- Location
- Northern CA
- Posts
- 727
-
10-22-2019 #21


Bookmarks