Thinking of swapping the engine mounts in your Gen 4 Viper?
Don't.
Seriously, unless you suspect something is really wrong, or unless you are already doing a header install, it just isn't worth it.
Why? I know others on here have commented about how much of a pain it is, but after looking at it from underneath the car, I couldn't see what the fuss was all about. You can easily access the 3 bolts and one nut you need to get to, so what could possibly be so hard? Well, the answer is because the exhaust is directly in the way of how you need to fish them out from under the engine, and that's on the driver's side where you have tons of room to work. If you are thinking about doing something similar on the passenger's side with even less room to work, you can forget about it.
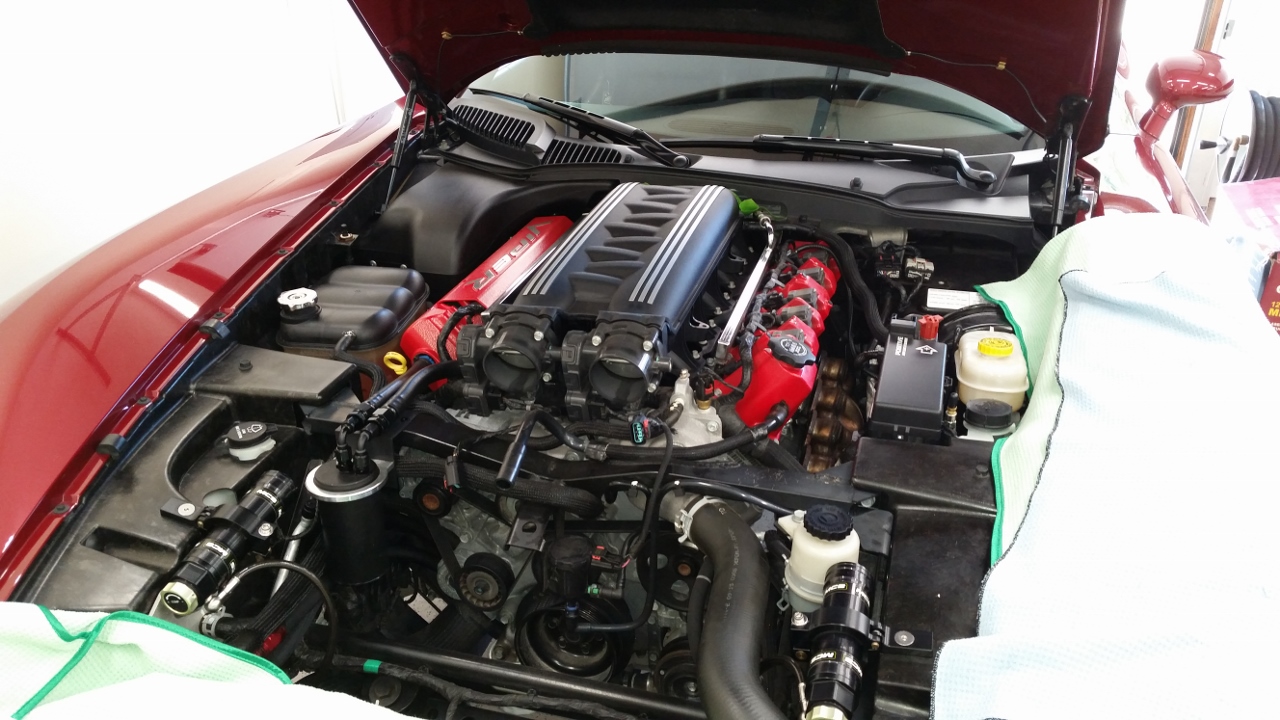
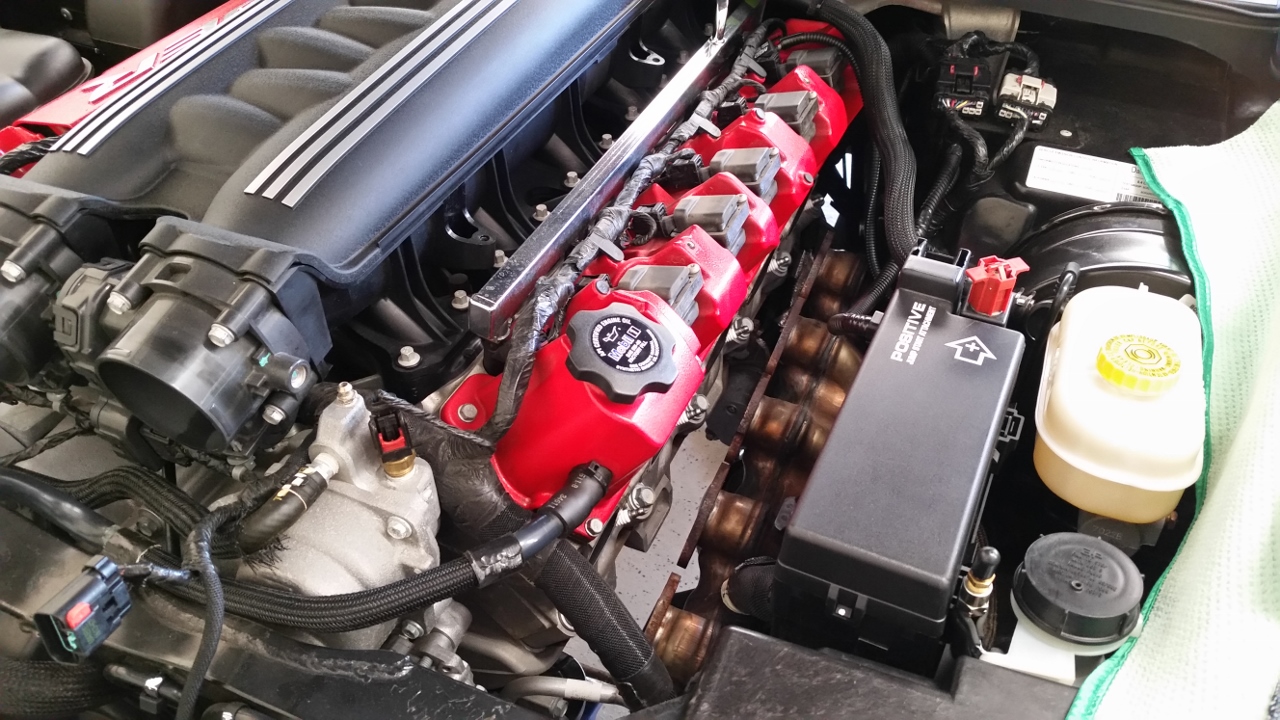
This is the current state of my engine bay:
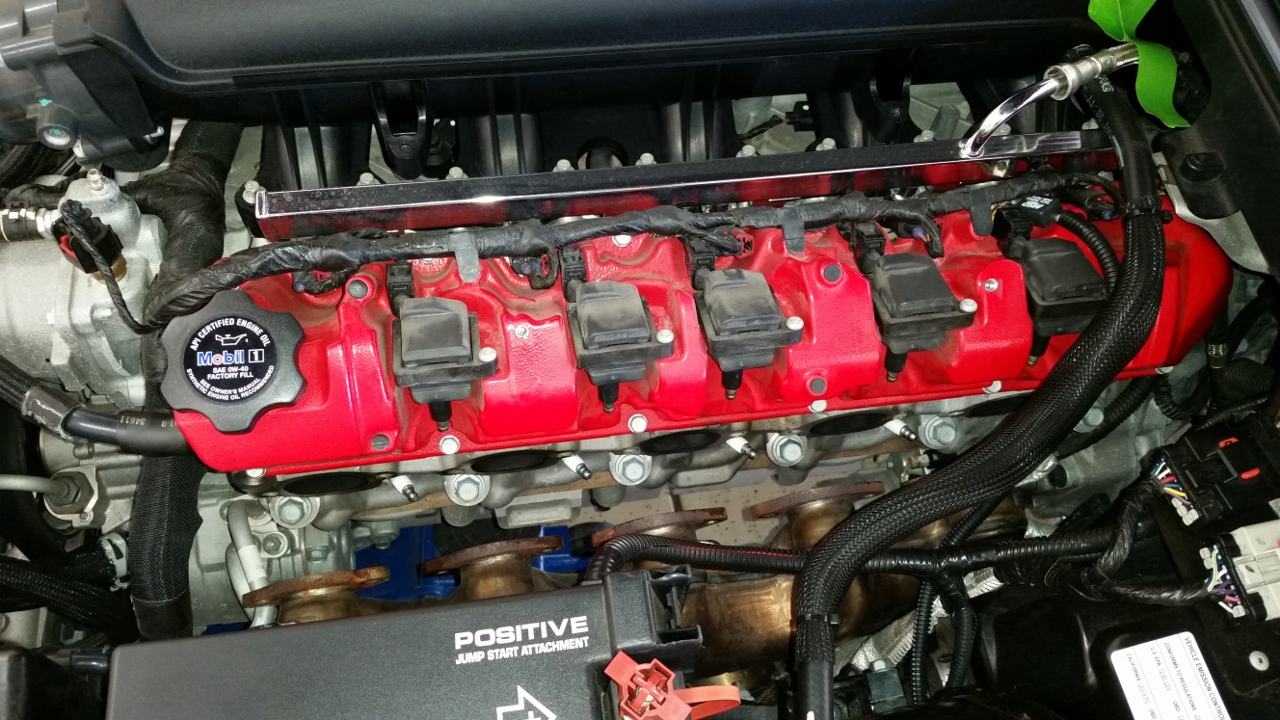
Wait, aren't those exhaust manifolds supposed to be attached?
Anyone need a good shot of the spark plugs?
I originally wanted to do this because under heavy throttle, my engine twists to the right pretty good, enough so that it can make shifting fast a bit of a chore at the drag strip. My car is 11 years old at this point with ~16,000 miles on the clock, so I figured it was worth at least trying to see if the driver's side engine mount was starting to give up the ghost. At this point, I'm elbow deep in it, so I might as well share my lessons learned so far. And I say "so far" because I have no idea how long it's going to take me to get everything back together, but by golly, I got one whole engine mount out. Not in, just out.
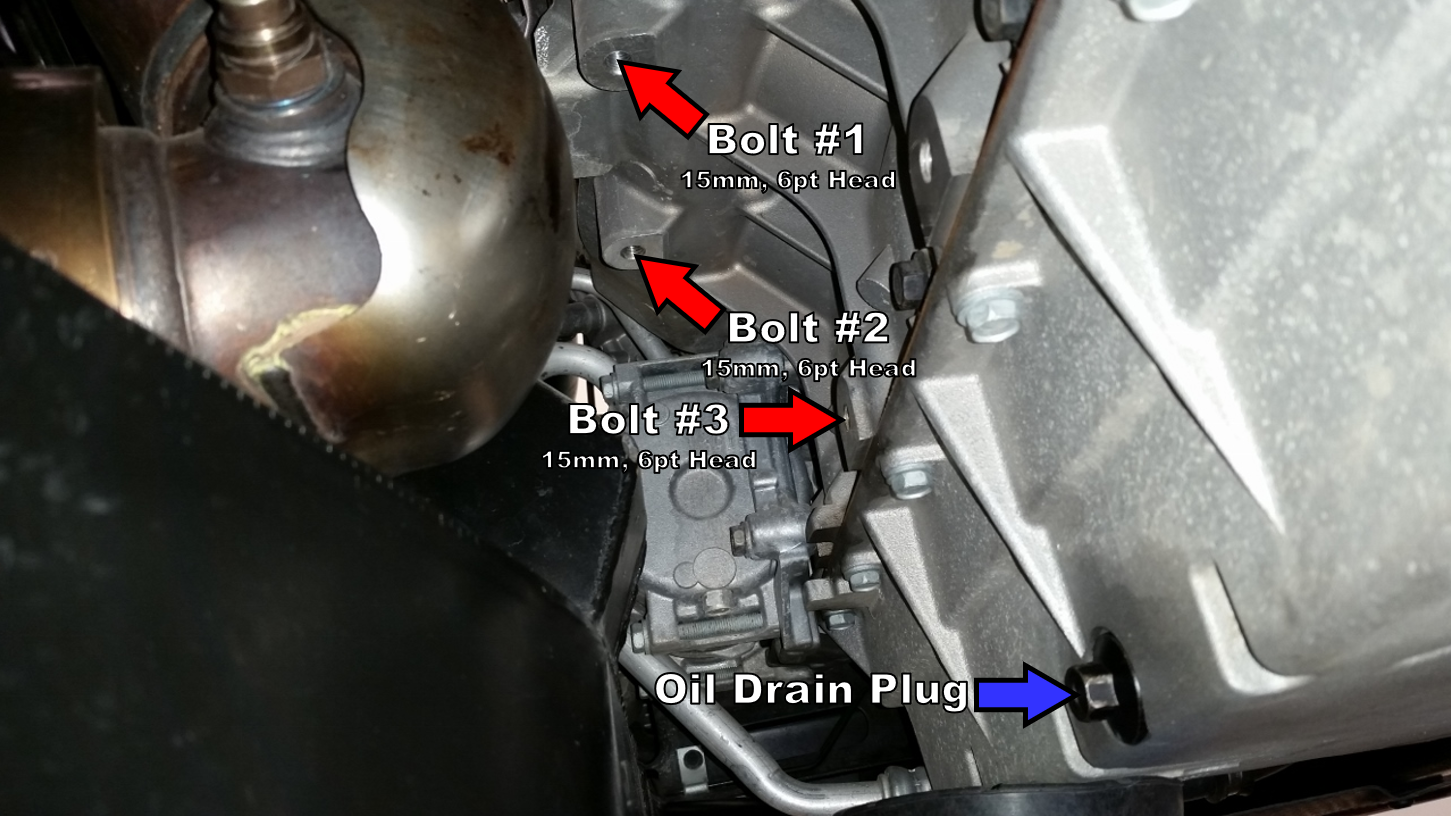
1. It really is as simple as only 3 bolts and one nut holding everything in place. The engine mount to block bolts take a 15mm, 6-point socket to remove, and the nut takes a 19mm, 6-point socket. All are pretty easy to access, and none of them were super tight. See picture below for reference as to where everything is, with an arrow pointing to the oil drain plug to help orient you:
2. Removing the exhaust manifold bolts wouldn't have been a huge deal, but they must have used some sort of anti-seize at the factory during assembly. That would theoretically make them easier to remove, unless you cake it on too much like they did, and then it makes it a royal pain to remove them. 4 out of the 10 bolts had me concerned that I was going to pull the threads in the heads out right along with them - thankfully, I didn't.
3. The nut that holds the rubber engine mount to the aluminum bracket is another 19mm, 6-point head. This one was a royal PITA to remove. I had to take my 1/2" impact to it, and even then, I could only get it out so far with it clamped in my vise before the engine mount started spinning. I ended up having the clamp the mount in place with an additional c-clamp to get the nut the rest of the way off. The culprit? Rust, and lots of it. My car never sees rain or snow, and it only gets washed a few times a year at most. It will be going back in the car with some sort of grease on it to keep that from happening again with the new mount.
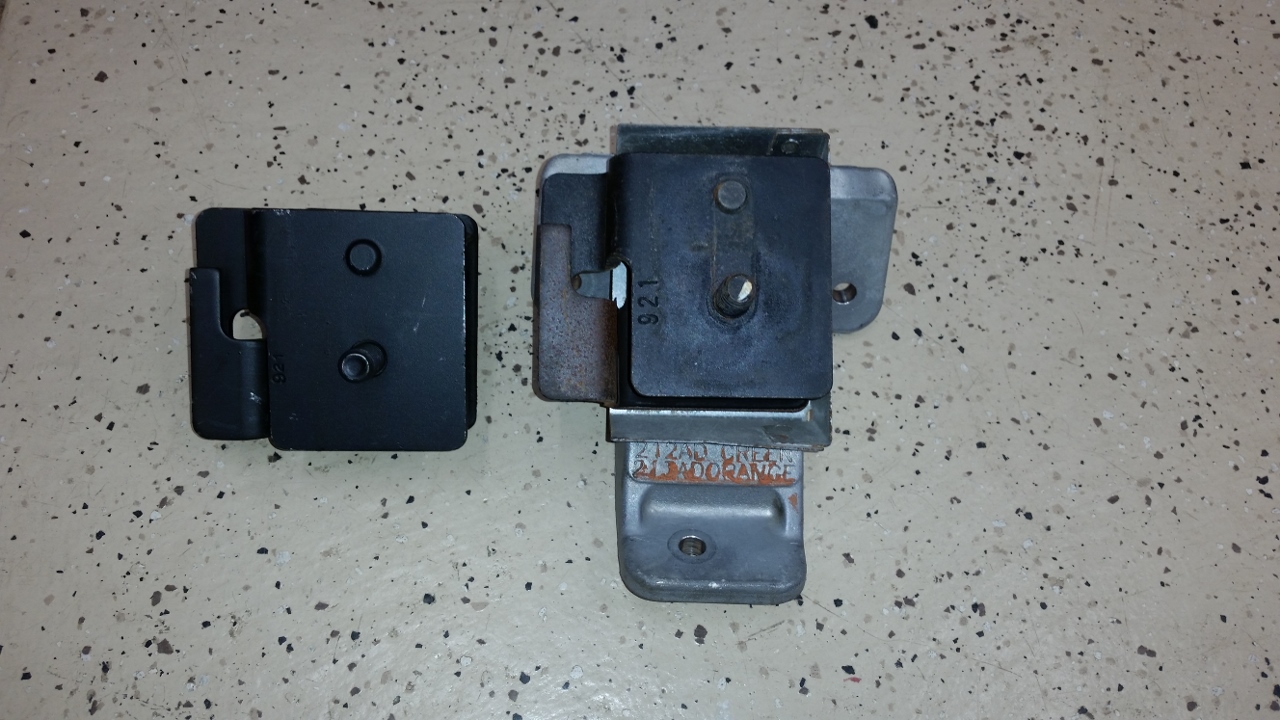
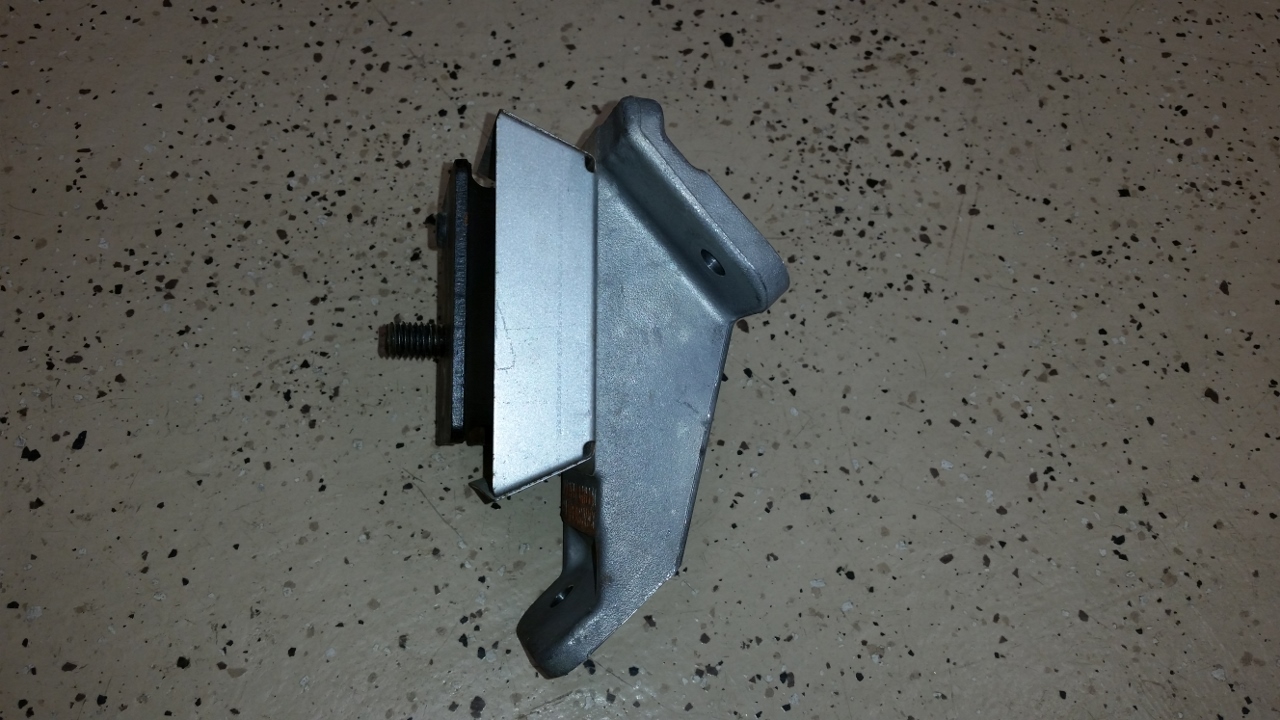
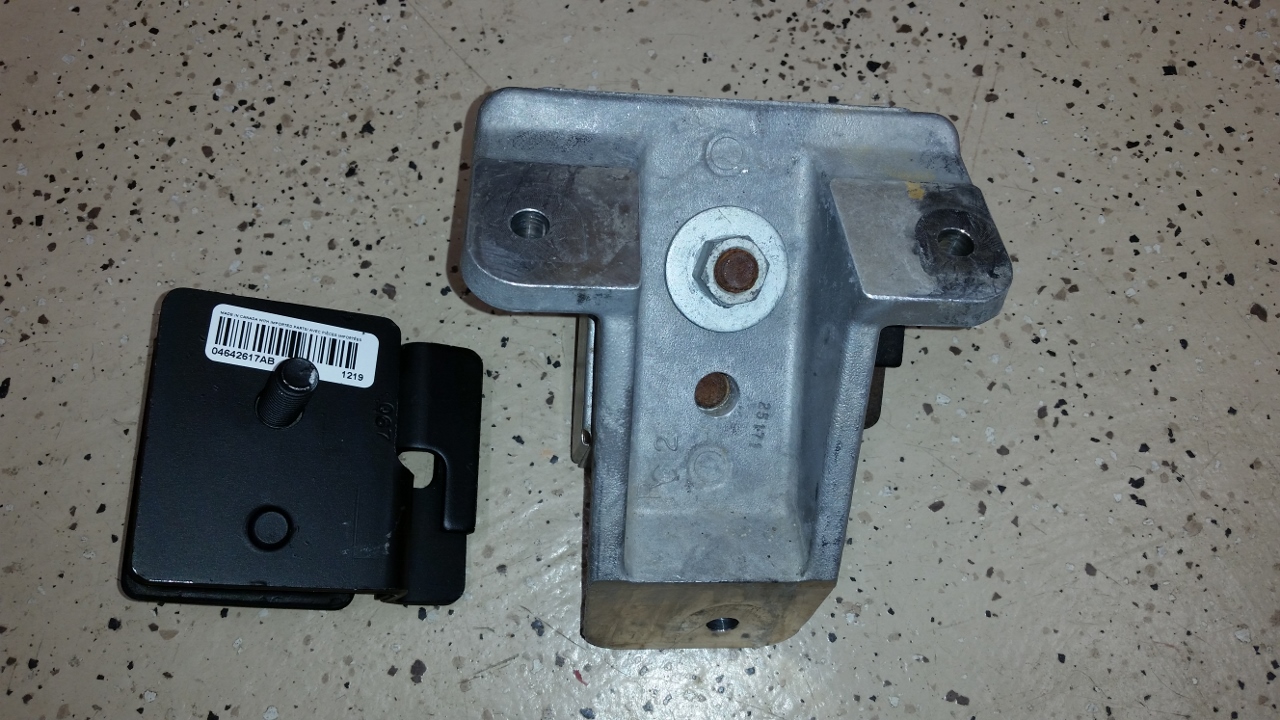
Here are some pics of the mounts so you will at least know what you are looking for:
From the bottom, with the new mount sitting to the left of the assembly:
From the side - you can see the heat shield pretty well in this one:
And what it looks like from the top, just prior to me fighting with the nut referenced in lesson learned #3 above:
Everyone can now laugh at my expense. I can assure you, I will not be doing the passenger side mount, especially considering outside of a couple small cracks, the original driver's side mount was still good.
Results 1 to 11 of 11
Threaded View
-
08-10-2019 #1Enthusiast


- Join Date
- Oct 2013
- Location
- Dayton, OH
- Posts
- 4,803
Gen 4 Engine Mount Word of Warning



 Reply With Quote
Bookmarks