
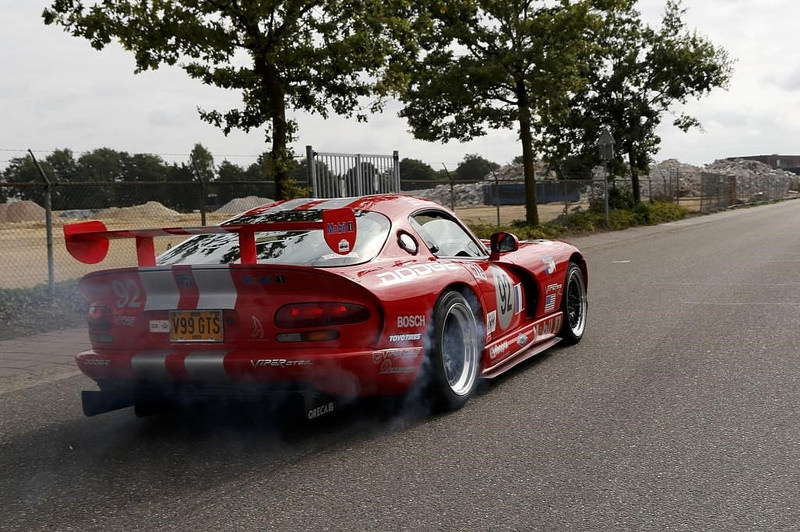
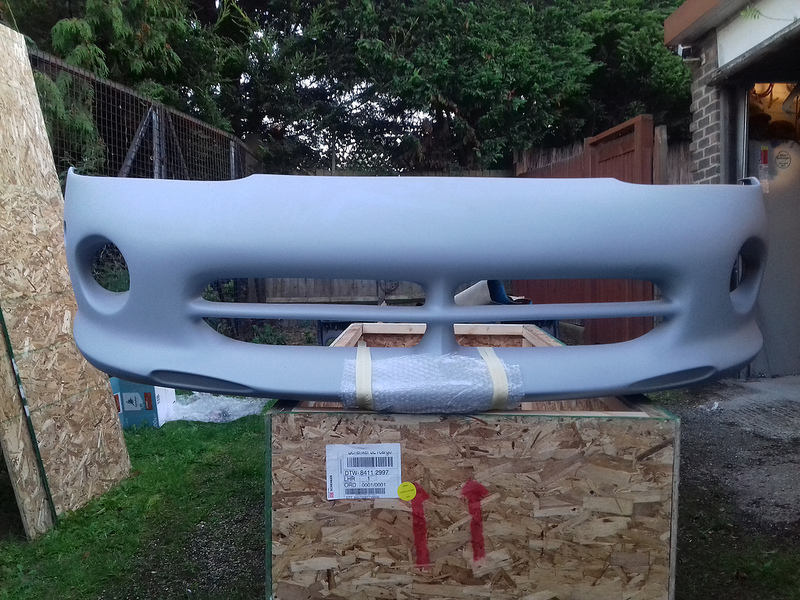
Now look whats turned up!
Here We go again!
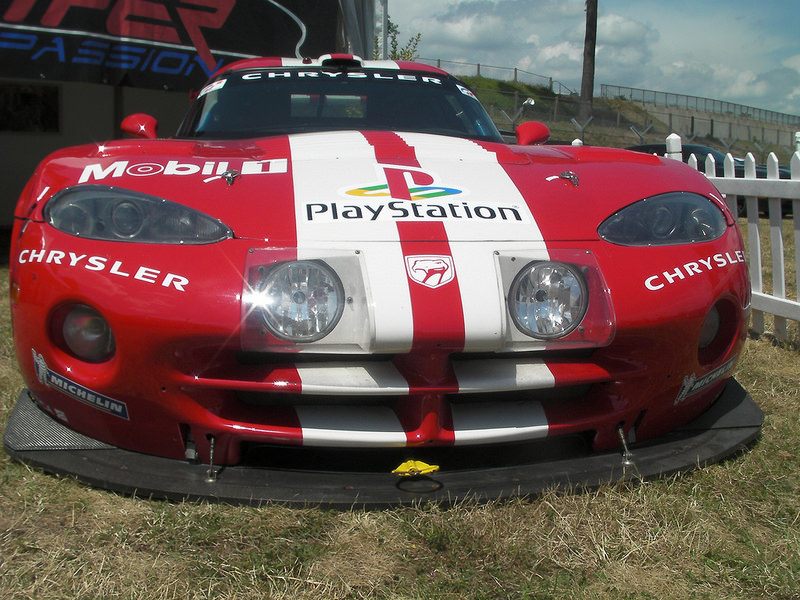
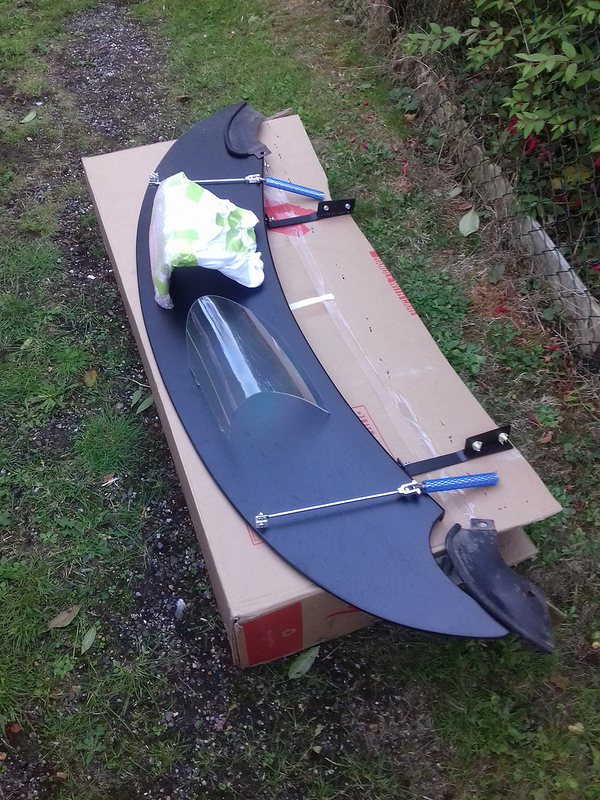
Notice the Clear light covers....... Genuine GTS-R
Now to turn that Autoform Race fascia into this!
Results 126 to 150 of 171
-
01-09-2019 #126Enthusiast


- Join Date
- Oct 2013
- Location
- South of London, Surrey
- Posts
- 7,577
-
01-09-2019 #127Enthusiast
- Join Date
- Oct 2013
- Location
- South of London, Surrey
- Posts
- 7,577
OK, I don't need to be asked twice Originally Posted by AviP


-
01-09-2019 #128Enthusiast
- Join Date
- Oct 2013
- Location
- New Braunfels, TX
- Posts
- 1,836
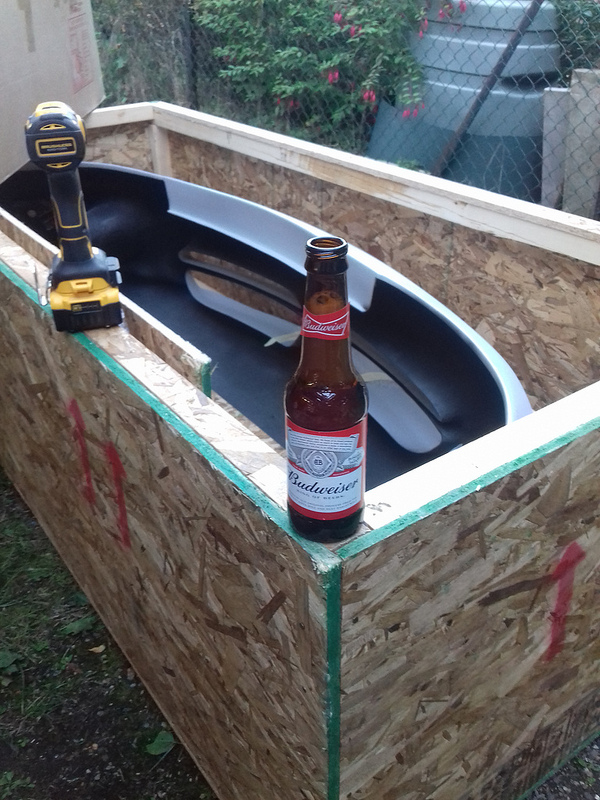
A Belgian beer? I'd prefer a nice Taddy Porter. Originally Posted by Fatboy 18


-
01-10-2019 #129Enthusiast
- Join Date
- Oct 2016
- Location
- Trois-Rivieres (QC)
- Posts
- 229
Did you guys have to enlarge some holes? For example for these bolts:
Attachment 36145
-
01-10-2019 #130Enthusiast
- Join Date
- Oct 2013
- Location
- South of London, Surrey
- Posts
- 7,577
I did not touch my rear hood bolts. Originally Posted by MuRCieLaGo
-
01-10-2019 #131Enthusiast
- Join Date
- Oct 2016
- Location
- Trois-Rivieres (QC)
- Posts
- 229
I don't like it. Originally Posted by Fatboy 18
I wonder if the body shop down the street would do a 100% job.
-
01-10-2019 #132Enthusiast
- Join Date
- Oct 2013
- Location
- South of London, Surrey
- Posts
- 7,577
Whats happened to make you think they need adjusting? Has your hood been pushed back or something? Originally Posted by MuRCieLaGo
-
01-10-2019 #133Enthusiast
- Join Date
- Oct 2016
- Location
- Trois-Rivieres (QC)
- Posts
- 229
I've got that classic hood to fascia gap, and I've been told to start by aligning the hood with top of the doors (was slightly off). No known accident... Originally Posted by Fatboy 18
-
02-01-2019 #134Enthusiast
- Join Date
- Apr 2016
- Location
- Sweden
- Posts
- 257
I'm back at it.
It's a god damn nightmare... Currently repairing my front fascia with 3m plastic repair. Half of all the mounting points are broken off by endeavors into hard objects caused by previous owners...
(can't upload pictures. Nothing happens...)
-
02-01-2019 #135Enthusiast
- Join Date
- Oct 2013
- Location
- South of London, Surrey
- Posts
- 7,577
Are you using a host website for the pictures or trying to upload them from your computer directly here? Originally Posted by ViperTim
If you look on the tool bar you will see an icon with a framed tree, (Insert image) Then click the tab "from Computer" and choose image.
then a attachment code will be generated, then Upload the file.
-
02-01-2019 #136Enthusiast
- Join Date
- Oct 2013
- Location
- New Braunfels, TX
- Posts
- 1,836
All the upper guide roller catches do is provide some anti-rattle tension and rear hood height adjustment near the door tops. There should be no need to shim them out from the foot boxes. If the hood isn't dropping straight into the catches, then you have to work up front at the hood hinge mounting points. You have fore/aft, left/right, and some l/r twist available within the holes' adjustability range. THIS IS A 2-MAN JOB. Originally Posted by MuRCieLaGo
If one corner drops in before the other one does, your front upper frame horns are bent out of level with each other and some frame pulling work will be required. Guess how I know this?Last edited by GTS Dean; 02-01-2019 at 12:59 PM.
-
02-01-2019 #137Enthusiast
- Join Date
- Apr 2016
- Location
- Sweden
- Posts
- 257
From my phone. Originally Posted by Fatboy 18
Did that, finished loading and just disappears.
Never mind, it was just my car on Jackstands so nothing spectacular.
-
02-01-2019 #138Enthusiast
- Join Date
- Oct 2013
- Location
- South of London, Surrey
- Posts
- 7,577
I've not tried loading pics up from the phone? I normally plug phone into laptop, then download pics
I totally agree it's a nightmare sorting the front end.
-
02-01-2019 #139Enthusiast
- Join Date
- Apr 2016
- Location
- Sweden
- Posts
- 257
Originally Posted by Fatboy 18
Especially a nightmare on my car that seems to have been in several low speed collisions where all the plastics behind the bumper is f'ed and patched in numerous questionable ways.
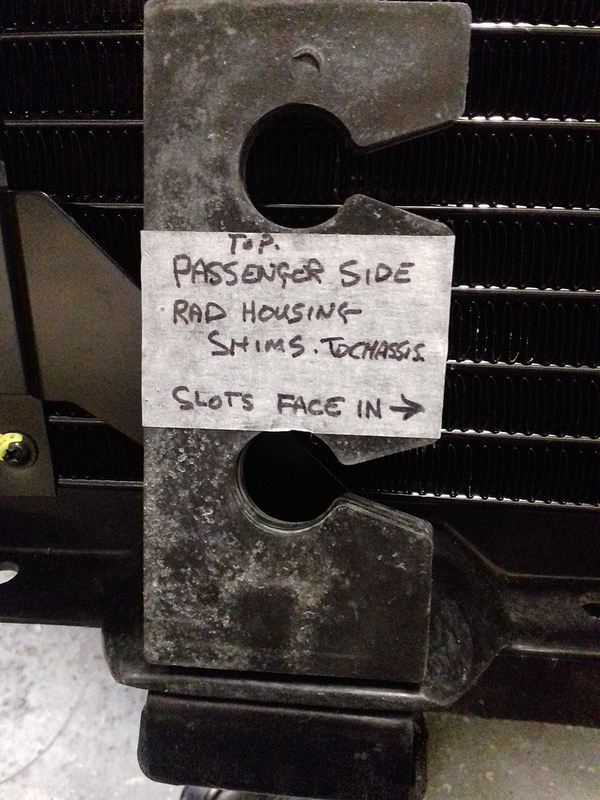
But spending half a fortune on just a new (or any solid) radiator support isn't my tune exactly... But that would solve a lot. Like my 1/2" spacers between the rad support and framerails...
-
02-01-2019 #140Enthusiast
- Join Date
- Oct 2013
- Location
- South of London, Surrey
- Posts
- 7,577
These spacers?


-
02-01-2019 #141Enthusiast
- Join Date
- Apr 2016
- Location
- Sweden
- Posts
- 257
Yep. Originally Posted by Fatboy 18
Except mine aren't oem Dodge, they're plexiglass from the nearest department store
-
02-01-2019 #142Enthusiast
- Join Date
- Oct 2013
- Location
- New Braunfels, TX
- Posts
- 1,836
Those notch-outs make them tons easier to R&R than my OEMs:
-
02-16-2019 #143Enthusiast
- Join Date
- Oct 2016
- Location
- Trois-Rivieres (QC)
- Posts
- 229
I pay another guy to help me. I changed my mind and removed all the shims I put previously. Before I began the work, there was no problem whatsoever with the catches. I finally managed to do the first part (hood centering and top door-hood gap) without any shim. Took 4 hours only for that part of the job... Originally Posted by GTS Dean
-
02-16-2019 #144Enthusiast
- Join Date
- Oct 2013
- Location
- South of London, Surrey
- Posts
- 7,577
Paying Someone to help!!!!!!! Man Up

-
03-02-2019 #145Enthusiast
- Join Date
- Oct 2016
- Location
- Trois-Rivieres (QC)
- Posts
- 229
So yesterday I adjusted the headlights to the hood, before realizing that I skipped a step. I am now trying to adjust the bumper to hood gap on each side.
Hood to doors gaps are done, and headlights seem fairly easy to adjust. Bumper to hood is definitely challenging. I tried loosening the bolts of the inner fender wells, without success. I can't really move the core. I'm a bit confused on how to take the core up on the sides... Gaps are absolutely the same left and right.
53417905_10161861052860221_5335864654683963392_o.jpg
53006135_10161860949960221_5821067410760794112_o.jpg
53306913_10161861071325221_368803803710881792_n.jpg
53084529_10161861084575221_5392680139932827648_n.jpg
-
03-02-2019 #146Enthusiast
- Join Date
- Oct 2014
- Location
- Driving around with contaminated fluids braking at 95% while squirting WD40 in people's locks
- Posts
- 3,036
1) look at your gap of the hood to the sill
2) if you have not improved the core support attachment to the frame like I'm pretty sure I mentioned when this thread started that can explain things too
-
03-02-2019 #147Enthusiast
- Join Date
- Oct 2013
- Location
- New Braunfels, TX
- Posts
- 1,836
It kind-of looks like your core support is cocked out of level in the side view. The core support is moderately-flexible on the outer corners, but you don't want to crack it. You may need to lower the fiberglass rebar a bit for more options. Or, you may need more shims under the core support at the frame.
Remove the splash shield fillers while adjusting the core support.yellow.jpgLast edited by GTS Dean; 03-02-2019 at 04:20 PM.
-
03-02-2019 #148Enthusiast
- Join Date
- Oct 2016
- Location
- Trois-Rivieres (QC)
- Posts
- 229
Side sills are removed because I have to send them for a respray, once all the gaps are done. If I want cut shims like you posted earlier, I would definitely need to order them (we are saturday, so I'd get them tuesday at the earliest). If I reinstall the side sills and lower the hood, hood will be sitting too low compared to the doors. Hood to doors is actually perfect now.
-
03-02-2019 #149Enthusiast
- Join Date
- Oct 2016
- Location
- Trois-Rivieres (QC)
- Posts
- 229
Thanks for the detailed pictures GTS Dean! I removed the headlights and closeout panels, loosened the noted screws. Most screws all around are loosened now. When I try to (gently) lift a side with a jack, the sides go up for like 3/8", which is not enough. If I lift right in the middle of the core support, the gap on the sides seem to be increasing. So it means that if I add shims from core support to frame, gap will most likely increase on the sides. I am confused.
-
03-02-2019 #150Enthusiast
- Join Date
- Oct 2013
- Location
- New Braunfels, TX
- Posts
- 1,836
What about the support tubes to the outer headlight corners? Every bolt that attaches or clamps the core support to the upper frame horns need to be loosened to allow vertical or longitudinal adjustment. It isn't super rigid, so you have to work carefully and snug/shim things up a little at a time.


 Reply With Quote

Bookmarks