When I was doing my TC gasket repair, I noticed, that my AC compressor developed a leak as well, so my next project seems to be on the way...LOL. I know, that the O-rings are common to fail over time. However, in my case the shaft seal seems more to be the culprit.
I have checked the forums but could not find and How-To on the compressor overhaul. Anyone here done this? I'd like to try it before purchasing a new one....
Thanks!
Results 1 to 25 of 55
-
05-28-2017 #1Enthusiast


- Join Date
- Nov 2013
- Location
- Germany
- Posts
- 992
Anyone overhauled the AC compressor
-
05-28-2017 #2Enthusiast


- Join Date
- Jun 2016
- Location
- Murphy
- Posts
- 112
Good question, I think mine has a leak as well as I am loosing Freon but I can't find from where, so I am guessing its the compressor.
-
05-28-2017 #3Enthusiast


- Join Date
- Oct 2013
- Location
- Viper Drive, AZ
- Posts
- 793
I'm also interested in a possible compressor replacement.
-
05-28-2017 #4Enthusiast


- Join Date
- Oct 2013
- Posts
- 430
Just get a new or rebuilt compressor. You can't buy the parts or rebuild one for the price you can get a new or rebuilt guaranteed part. If you just want to play with it, go to a junkyard and get an old compressor. Take it apart and you'll see what I mean. Get a dye kit and see where your unit is leaking before you do anything.
-
05-29-2017 #5Enthusiast


- Join Date
- Nov 2013
- Location
- Germany
- Posts
- 992
You can get a reseal kit for 25 bucks. If this all it needs to get it into good shape again then I am sold

-
05-29-2017 #6Enthusiast


- Join Date
- Nov 2013
- Location
- Chandler, AZ
- Posts
- 2,463
There are tutorials on Youtube for Denso AC compressor reseal. I'm not positive that is what is on a Gen 2, though.
-
05-30-2017 #7Enthusiast


- Join Date
- Nov 2013
- Location
- Germany
- Posts
- 992
-
06-03-2017 #8Enthusiast


- Join Date
- Nov 2013
- Location
- Germany
- Posts
- 992
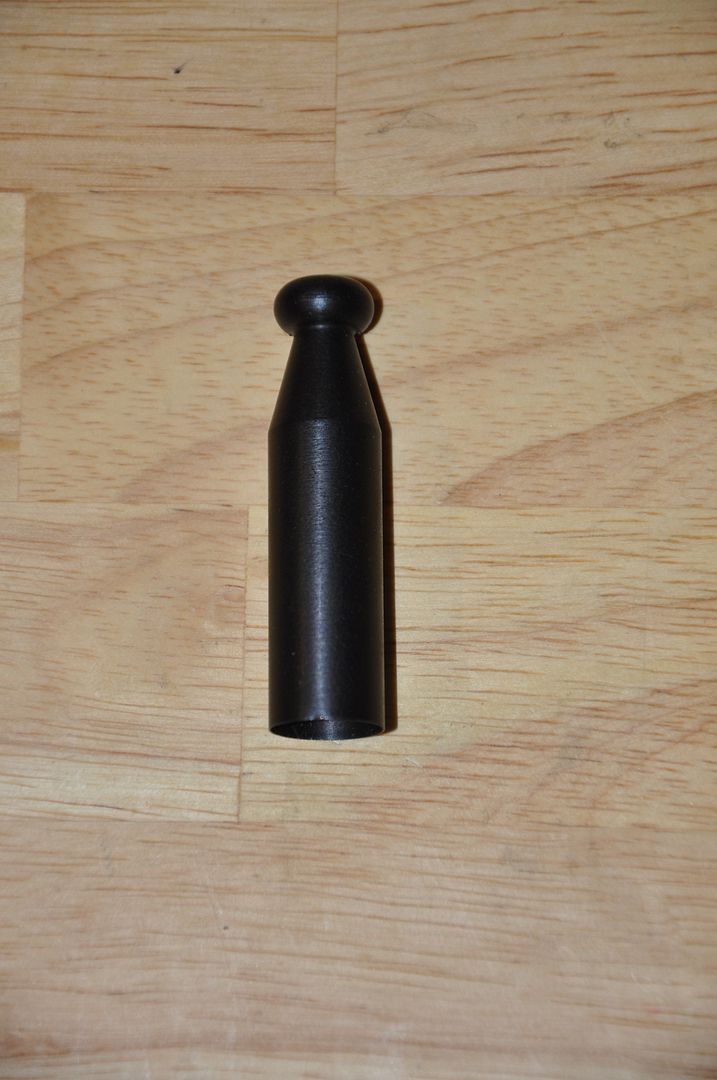
So I kicked this off by ordering the parts. I have almost everything, except a small tool which makes the difference between victory or defeat: a lip seal protector, needed to properly install the compressor shaft seal. I had to order it in the US as I could not find it here....
The plan is to replace all seals/gaskets plus the drier.
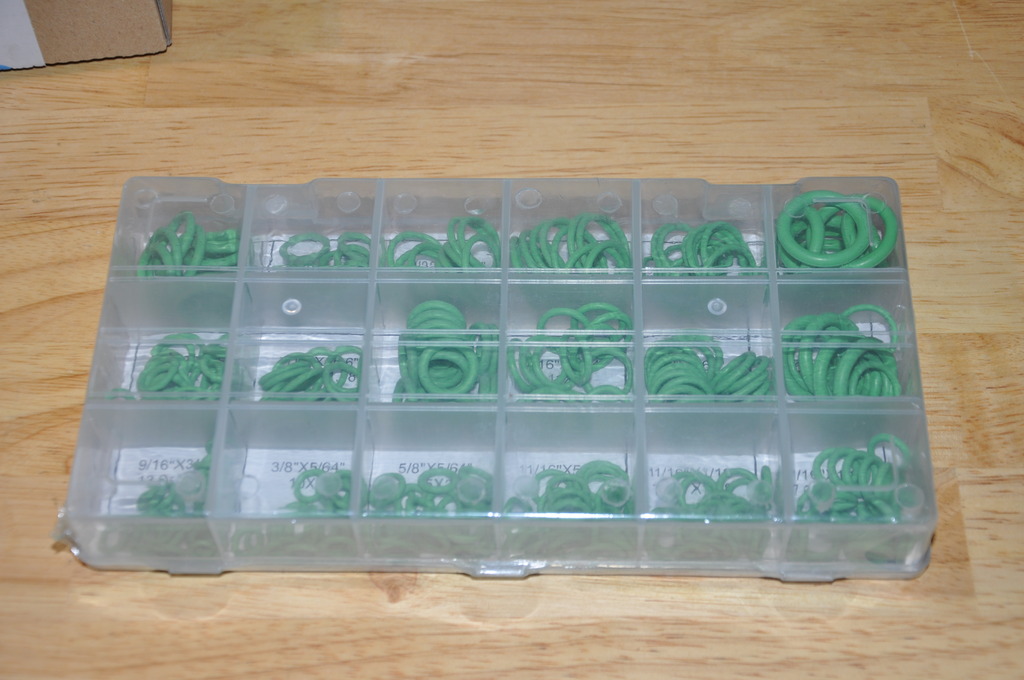
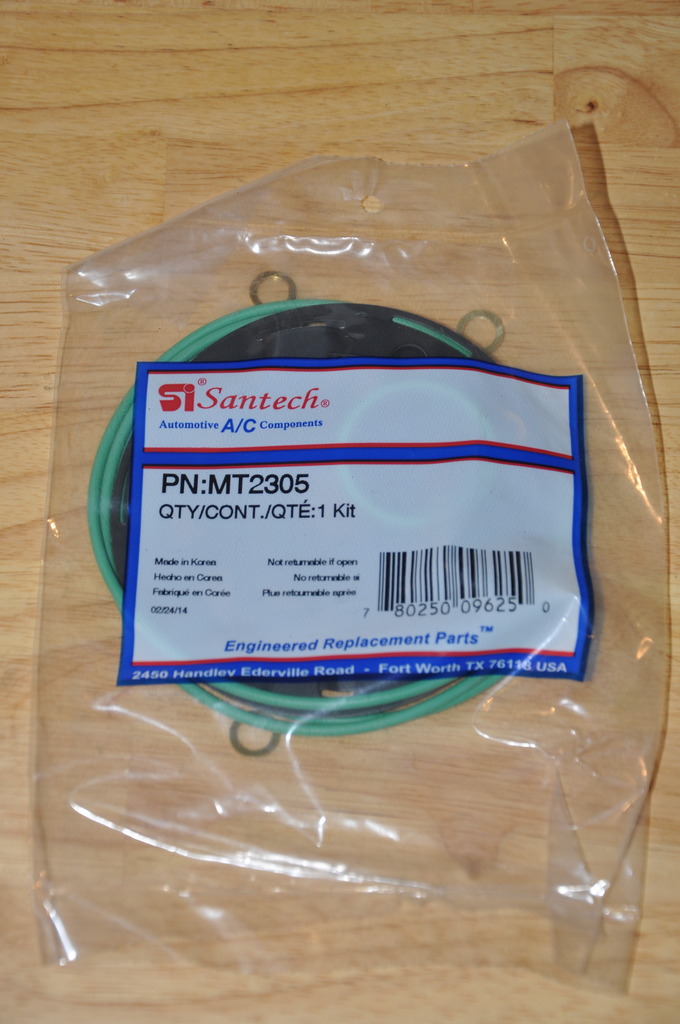
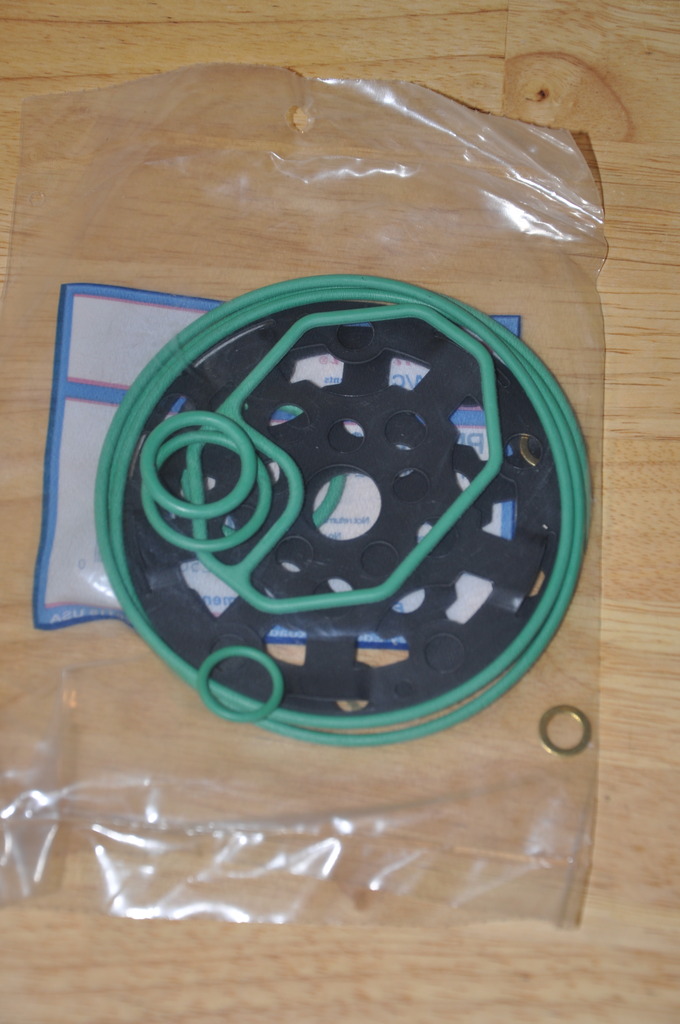
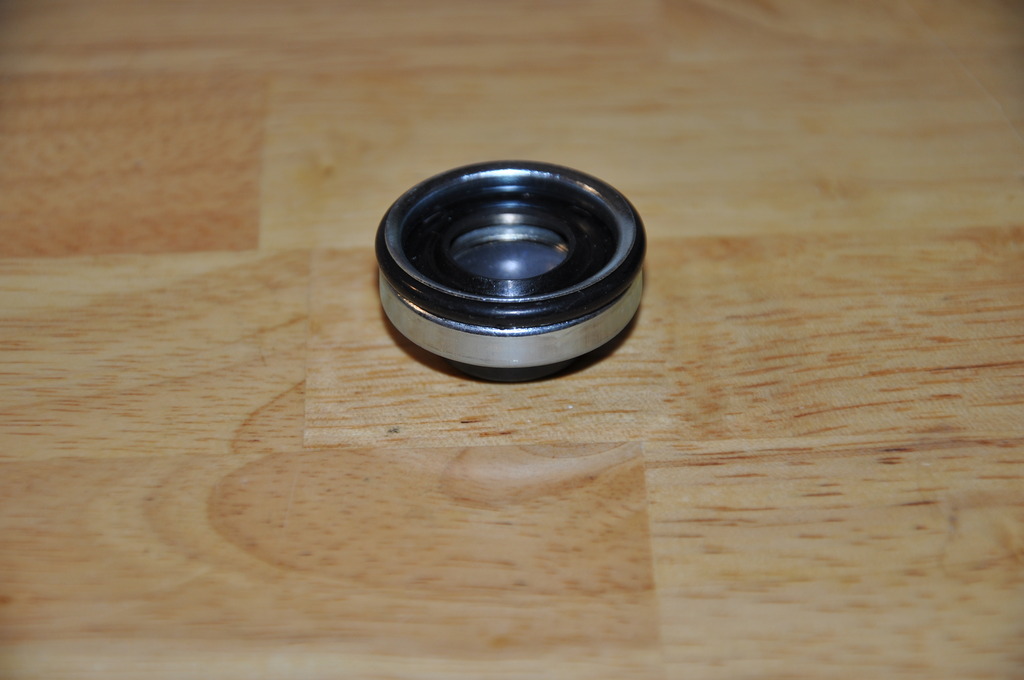
Here's what I got so far:
A/C O-ring assortment
Seal kit for Denso 10PA15C compressor
Compressor shaft seal

New drier
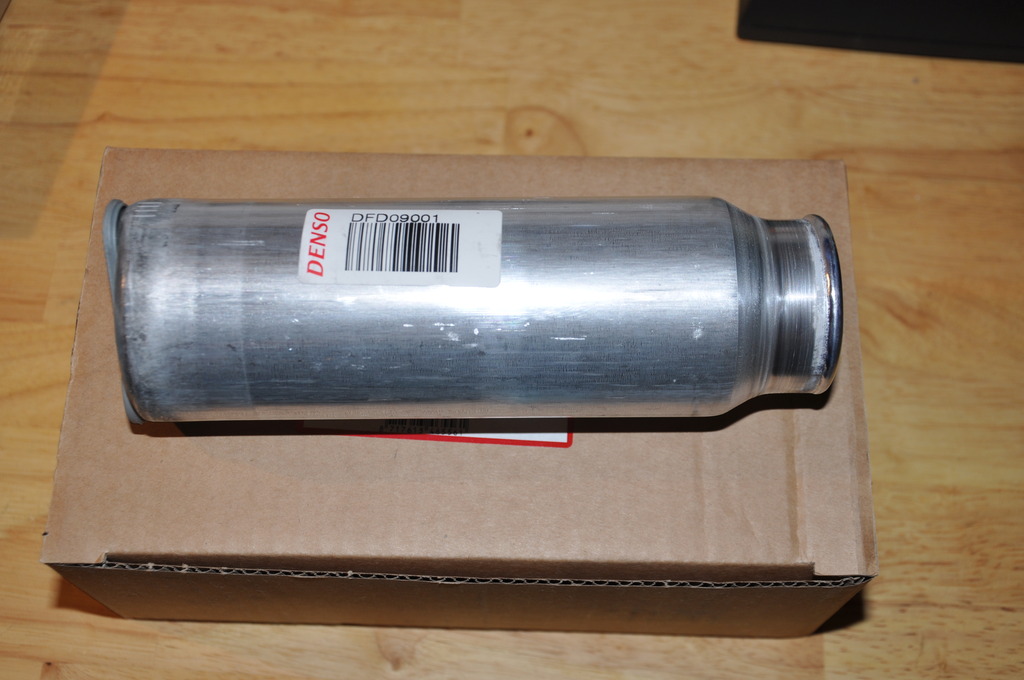
As soon as I have received the lip seal protector I will go ahead and get the refrigerant removed and start the job.
-
06-03-2017 #9Enthusiast


- Join Date
- Nov 2013
- Location
- Germany
- Posts
- 992
This is odd... but maybe someone can help to clarify!?
I was reading the shop manual regarding the amount of refrigerant oil I would have to add to the compressor when having completed the overhaul and put the compressor back in. On page 24-5 of the manual there's the following table:

But how come that if you add up the single amounts the sum exceeds the total amount stated in the first line (140ml)? I don't really understand what they mean by "Line blown", maybe I am just missing something..!?
In any case, as I plan to replace the drier, I would have to add 30 ml of ND8 PAG oil, plus the amount I drain from the compressor before disassembly. Does this makes sense?
-
06-03-2017 #10Enthusiast


- Join Date
- Nov 2014
- Posts
- 56
The individual amounts would be what you would add to the system if you were replacing the corresponding component only. When the system runs the oil circulates and "accumulates" unevenly inside the different components, that is the reason the individual amounts add up to more than the system total. You might want to consider using Nylog Blue or an equivalent when reassembling the components.
Last edited by lmn; 06-03-2017 at 08:22 AM.
-
06-03-2017 #11Enthusiast


- Join Date
- Apr 2014
- Posts
- 517
Curious if the compressor drops out from the bottom/fairly straightforward?
I'd looked once & debated if maybe would need to pull 1 motor mount loose to rock the engine over a bit.
-
06-03-2017 #12Enthusiast


- Join Date
- Aug 2015
- Posts
- 232
-
06-03-2017 #13Enthusiast


- Join Date
- Nov 2013
- Location
- Chandler, AZ
- Posts
- 2,463
-
06-03-2017 #14Enthusiast


- Join Date
- Nov 2013
- Location
- Germany
- Posts
- 992
Looking at it I would think it comes out from the bottom rather than from the top.
-
06-05-2017 #15Enthusiast


- Join Date
- Nov 2013
- Location
- Germany
- Posts
- 992
-
06-05-2017 #16Enthusiast


- Join Date
- Sep 2016
- Location
- SoCal
- Posts
- 862
-
06-05-2017 #17Enthusiast


- Join Date
- Nov 2013
- Location
- Germany
- Posts
- 992
-
06-12-2017 #18Enthusiast


- Join Date
- Sep 2016
- Location
- OK Falls, British Columbia Canada
- Posts
- 80
I can fix just about anything but decided to replace the compressor instead of fixing it. Got the barnd new [ not rebuilt ] Denso compressor from Rockauto for about $200 US. To remove the compressor, i recommend to remove the P/S pump from the bracket and push it on the side. The compressor will come out easier on top than from under.Got it done just in time for our hot weather here in the Okanagan.
-
06-13-2017 #19Enthusiast


- Join Date
- Nov 2013
- Location
- Germany
- Posts
- 992
Thanks for the tips on the removal of the compressor! 200 bucks for a new compressor is quite a good deal I think. I like to fix things if possible instead of replacing them, especially if there's a business case (seals and tool will sum up to 50 bucks). So I hope it will be good for another 20 years then

-
06-13-2017 #20Enthusiast


- Join Date
- Sep 2016
- Location
- OK Falls, British Columbia Canada
- Posts
- 80
$210.79 to be exact. part number; DEN 471-0355 from Rockauto, shipped from Azusa, CA. Brand new made in Japan.
-
06-13-2017 #21Enthusiast


- Join Date
- Oct 2013
- Location
- SE PA
- Posts
- 357
This is a great thread, thank you! I always assumed that the compressor was used on other vehicles...like the starter...but never would've thought to check Rock Auto.
Off topic. When the starter acted up in our 1996 RT, the local alternator shop rebuilt the original with same day service as the parts were common.
-
06-13-2017 #22Enthusiast


- Join Date
- Nov 2013
- Location
- Germany
- Posts
- 992
I have received the lip seal protector so I will tackle this now. Tomorrow I will get the system drained and let's see, how far I come over the weekend. Will post my progress here...
-
06-13-2017 #23Enthusiast


- Join Date
- Oct 2013
- Posts
- 1,900
better hope the clutch isn't seized to the front shaft that you have to pull with a puller I suppose/ most do, a lot of times also if the case is aluminum,they leak at the body also
-
06-14-2017 #24Enthusiast


- Join Date
- Nov 2013
- Location
- Germany
- Posts
- 992
Today I was at the shop draining the refrigerant. It measured around 750 grams removed so not very much got lost (factory charge is 822 grams) and 13 ml of oil was drained.
Now as for the oil:
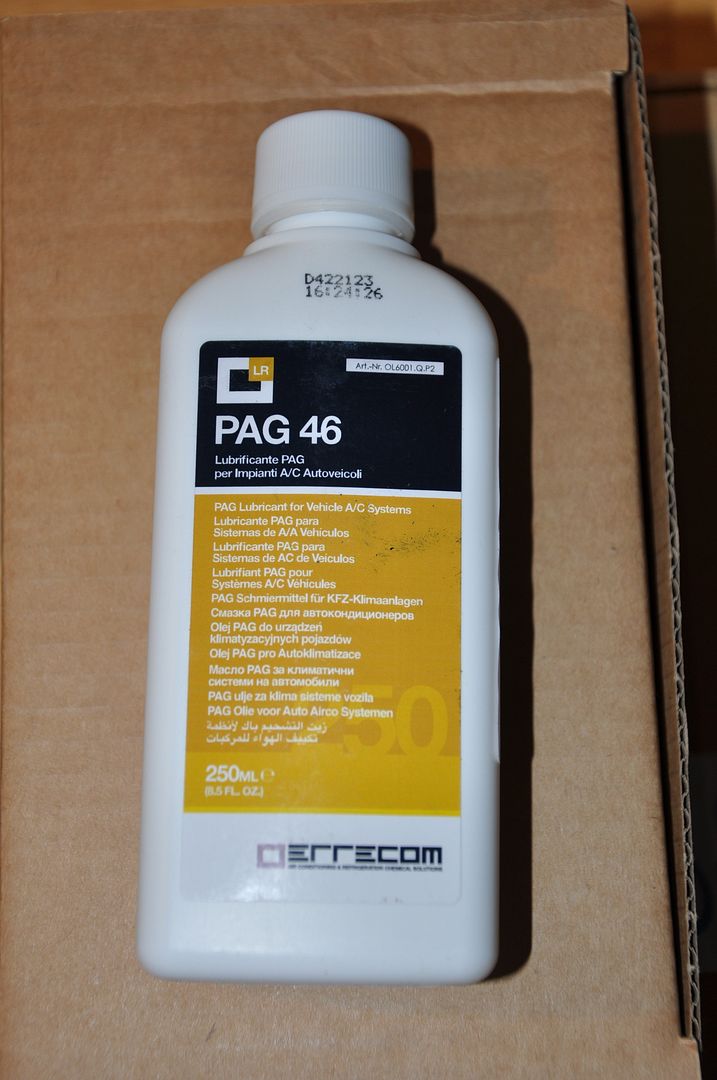
My Denso compressor uses ND-8 PAG oil according to the label. I got myself a small bottle of PAG 46 which is the equivalent with the same viscosity. Basically to lube the new o-rings and seal prior to installation. The original ND-8 is hard to get here and much!! more expensive.
Here's a pic of the lip seal protector:
Tomorrow I will start to tear the A/C apart... ;-)
-
06-17-2017 #25Enthusiast


- Join Date
- Nov 2013
- Location
- Germany
- Posts
- 992
Yesterday, I removed the compressor. I tried to remove it from the top after unbolting the steering pump and moving it aside. No luck. I tried to remove it from the bottom, no luck either. Finally, I removed the steering pump from the vehicle and got the compressor out from the top. The shop manual does not provide any info as to what the "official" way of removal is... would be curious if anyone had been able to remove it from the bottom without removing other stuff first....?
Pump just unbolted, but not enough room to get the compressor out:

Pump removed, looks much better now:
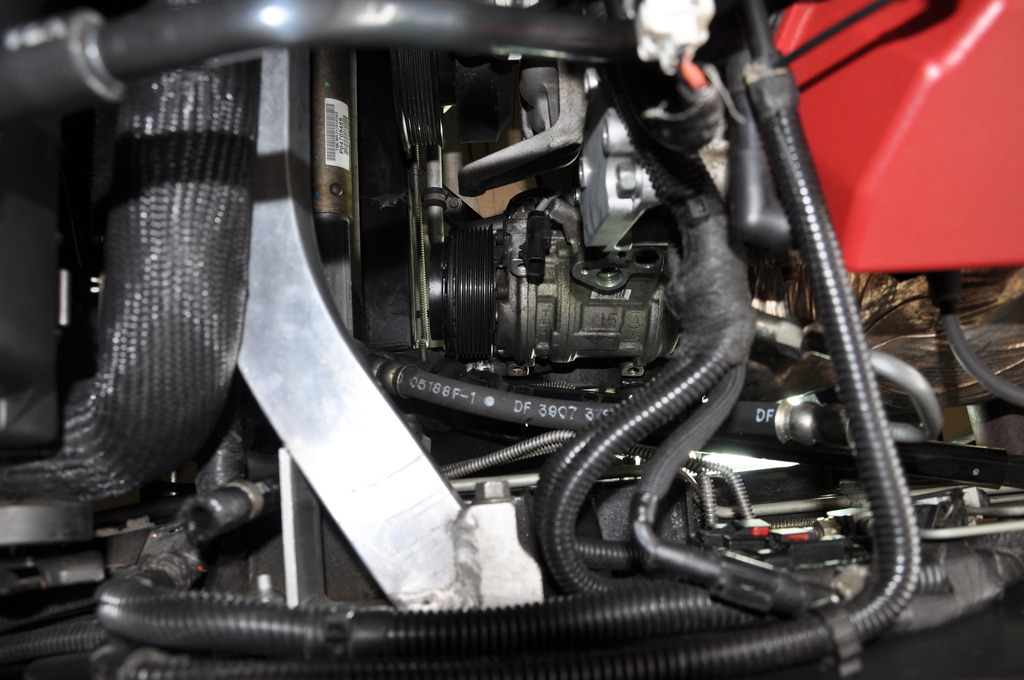
Compressor removed, now the fun begins. As a side note: the compressor might not look like a leaky one but during my TC gasket repair I gave everything a wipe down, also the compressor. It was covered with green mist for the most part at the time. Also there was quite some green moisture around the clutch plate, almost dripping to the ground. I have not use the A/C since then...

Last edited by My98RT10; 06-17-2017 at 01:48 AM.


 Reply With Quote


Bookmarks