With a Viper we are targets for speed enforcement. Let's face it, if an officer has to choose between a Viper and a Camry, you are getting the radar/laser gun pointed at you. I decided to install a concealed radar/laser detector. I got around to the installation of the Escort Passport 8500ci Plus system into my 2002 Viper GTS over a weekend. It took me a while more than anything because of weather and some fab work that I did to mount the receiver/sensor on the front. We got pounded a couple of times over the weekend with some downpours and, even though I setup my little shelter, it slowed me down.
So in order to make this as clear and as easy as possible, I'll detail some things so that you know what you are looking at depending on whether you match what I did, take it down a notch or two, or go way beyond what I did. The whole install took me about 4 hours including the fab work. The majority of what you will read below is the mounting of the sensor itself as this is the most complicated part. Other than that, the rest is easy.
As you will see below, I did not remove the facia to do this. I did however mount the front radar/laser sensor very securely. I'll detail how I did it in the writeup. There are different ways to accomplish what I did, but since I had certain tools in the chest (mostly from a corvette restoration we are in the midst of), I took advantage and used them. Other than the typical hand tools, the only other thing I needed was a pop-riveter and a flexible drill extension to drill too small holes to attach the sensor. Again, the details below will make everything clear.
OK what's in the shot below is what will be going into the car. Clockwise from the top left:
Radar/Laser Sensor
Control Unit
Keypad/Display
GPS Antenna
The kit comes pretty complete in terms of wiring. All the components plug into the control unit with modular plugs so it is easy. Not much cutting or splicing needed except for the power. You also get a bracket to mount the radar/laser sensor, but for the Viper, I found that to be useless. You get an array of screws, two face tape and velcro. In short, you have options and they cover the bases pretty well.
There is also an LED that is included with the kit but to do that properly, in my opinion, you should be drilling into a location and running that through the dash at some point. Someplace that would be visible while driving. Since I did not intend to do that, I left it out. I tend to rely on the warning sounds and display anyway. I am also used to a windwheild mount anyway, so, to me, it's not required.
The first thing I did was to decide where the control unit would be located. Since the unit has the speaker for the audible warnings, I needed it to be in a place where I could hear the warnings. In other words, under the seat or under the console was out of the question because you would muffle the sound too much. I could go with an external speaker (Escort has the option) but I preferred to try it this way first. For me the best place was under the dash on the left side of the foot well. There is a flat empty area tucked up behind the fuse panel that leaves the speaker exposed. So, essentially, I would run the wires to the drivers side behind the fuse box. Once that is chosen, I decided to move onto the most complicated part of the install, the radar/laser sensor.
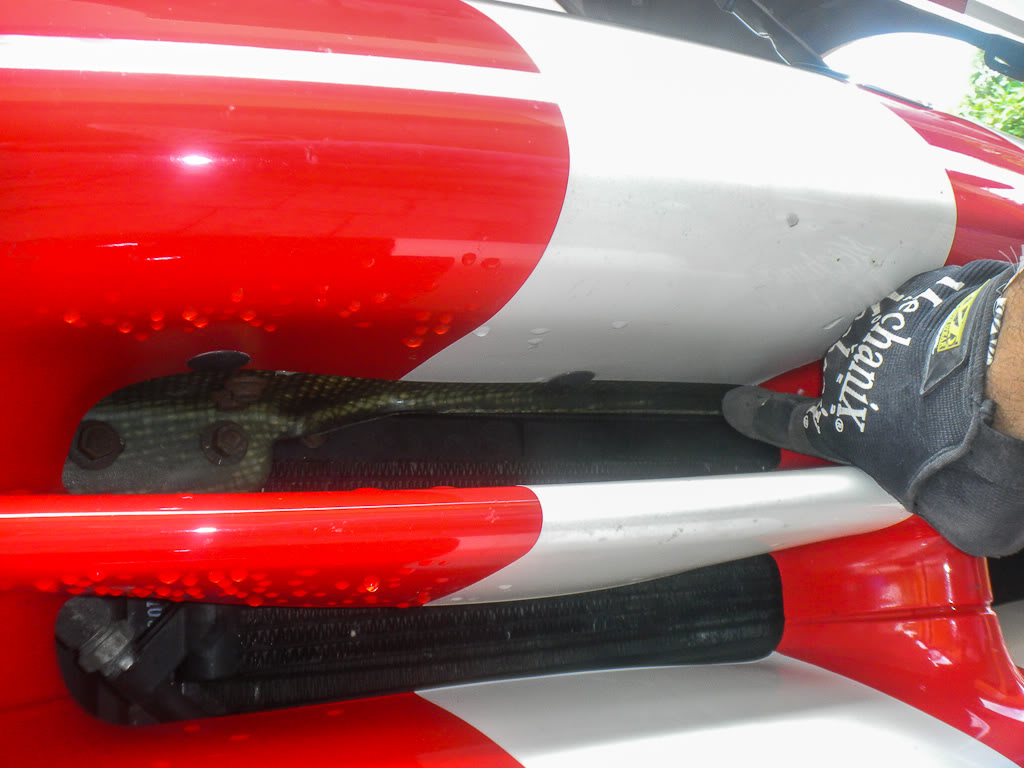
If this was only a radar sensor (ie: no laser detection) you could mount the sensor behind the platic facia for a true stealth mode. Howver, since they use laser quite a bit in Florida now, I need to get laser detection. I decided to mount the sensor in the middle portion of the front facia, on the passenger side of the crosshairs. The driver's side has the hood release, so the passenger side gets the sensor. You have a good strong place to mount it, the rigid composite material behind the facia.
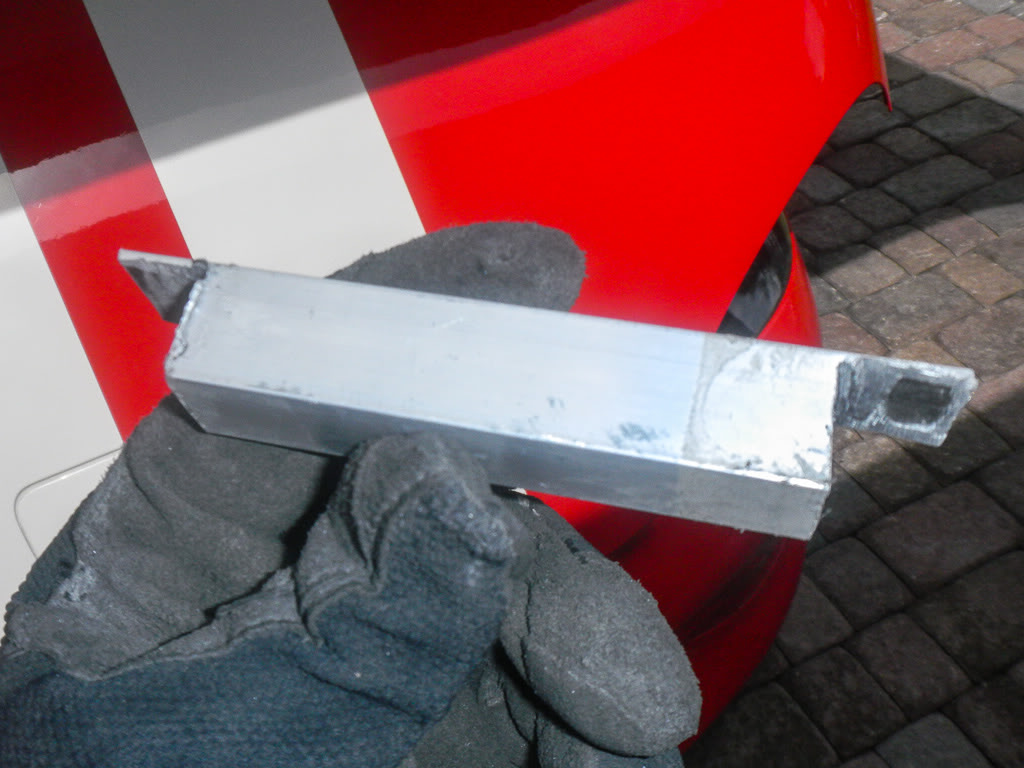
The rigidity of the mounting point allows me to really cut out vibration so I decided to mount it very well. The built in brackets/wings on the sensor itself do not reach the composite material. You have to add a mount that will drop below the facia. What I decided to do is make my own small brack from a piece of 3/4 square aluminum bar. It is hollow. I basically took the bar and cut a length that was about 2 inches wider that the sensor tabs. I then cut notches on the bar to create the tabs. The rough bracket is below.
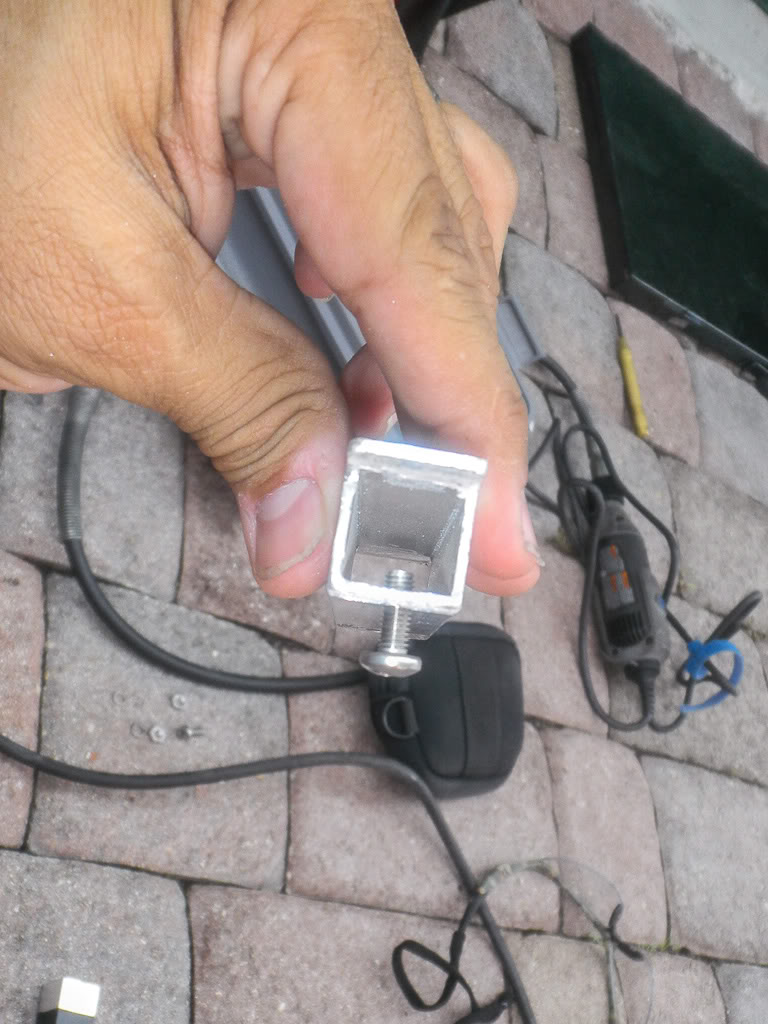
I then took the screws from the kit (fine threaded stainless) and I drilled and tapped the bracket to match the sensor tabs. There is enough there to tap and since the sensor is light, the two screws with locktite will be plenty. The tapped bracket:
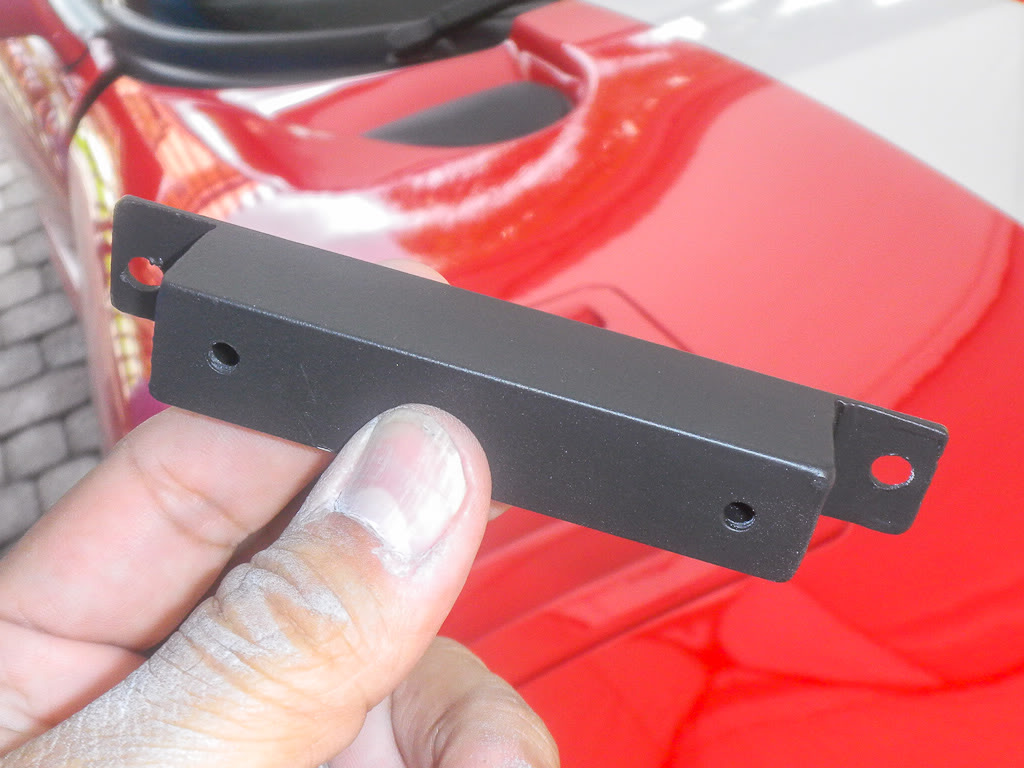
I then sanded and finished off the bracket with some primer and paint to get a flat black finish that would be lost in the shadow of the facia and radiator area. Note the pilot holes on the tabs. These are there to pop-rivet it in place. That will be the next step. Not too shabby if I do say so myself...

Results 1 to 8 of 8
Thread: Escort Passport 8500ci
Threaded View
-
01-01-2014 #1
Escort Passport 8500ci
Luis V.
Miami, Florida
2002 Dodge Viper GTS - FE #298 & 2013 Dodge Viper GTS


 Reply With Quote

Bookmarks